- No products in the cart.


Yay!
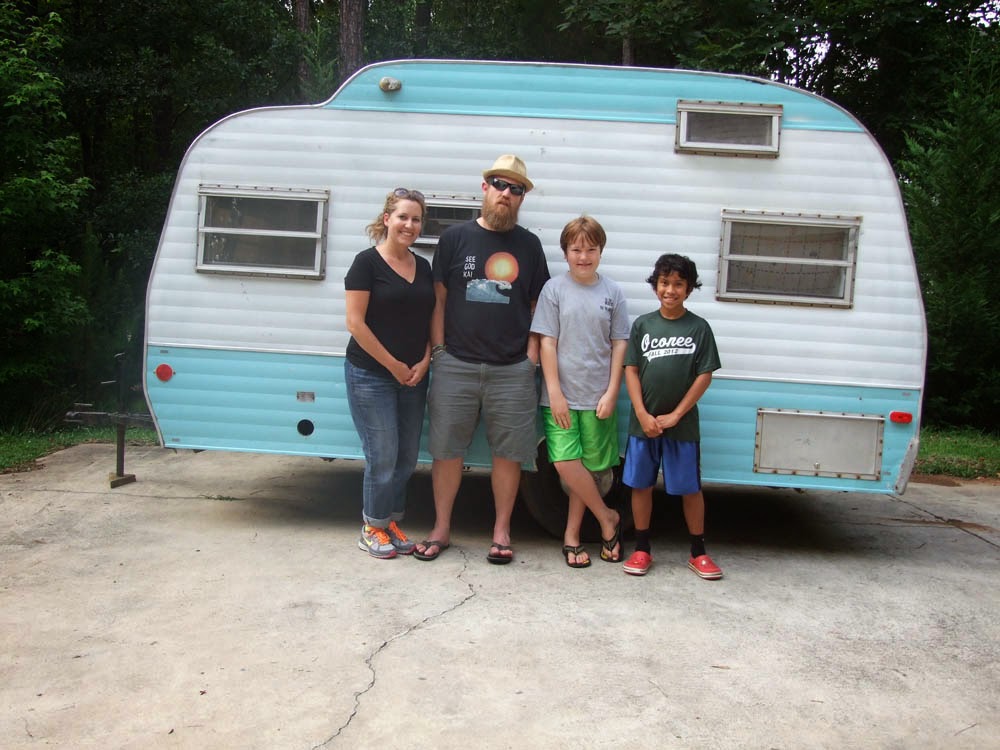
I have fallen in love working on Lucy, that's her name, and I have given you some updates along the way. I'll admit that I haven't been that good at filling you in. So we have a little test run mini trip planned soon and this baby has got to be finished....in a week! (I'll fill you in in just a bit on all of the progress.) For these past few months as I have had "Camper Brain" as we call it here, I've come up with some fund stuff that's camper related. Did you see my little pin cushion up there? Yes, that's one of them, there will be more rings like that all week long.
While all of this fun is going on, I figure we need to have a Give-A-Way as well. Here is the prize and the entry form, please share so everyone can get in on the fun. :)
a Rafflecopter giveaway
And now I will catch you up on the last 8 months of the camper.
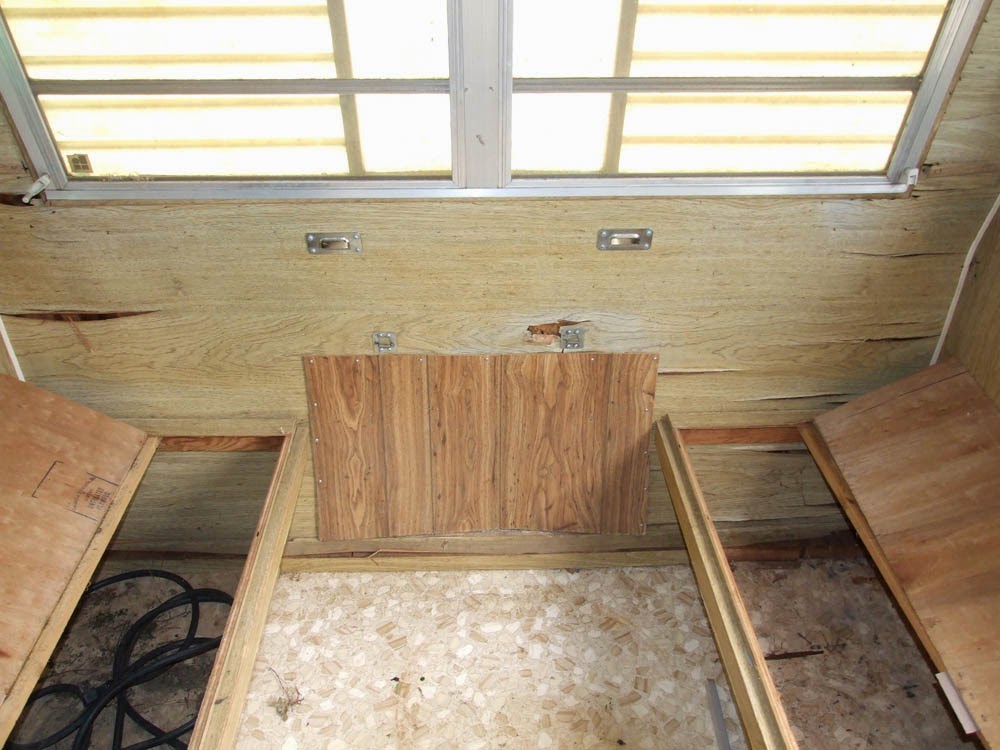
The inside had good and bad. First the good...The floor and the structure underneath were very sturdy and well taken care of.

You can't see very well in the picture, but the floor has little specks of gold glitter in it. Very retro and the only damage was a blob of black spray paint that we will hopefully be able to remove.

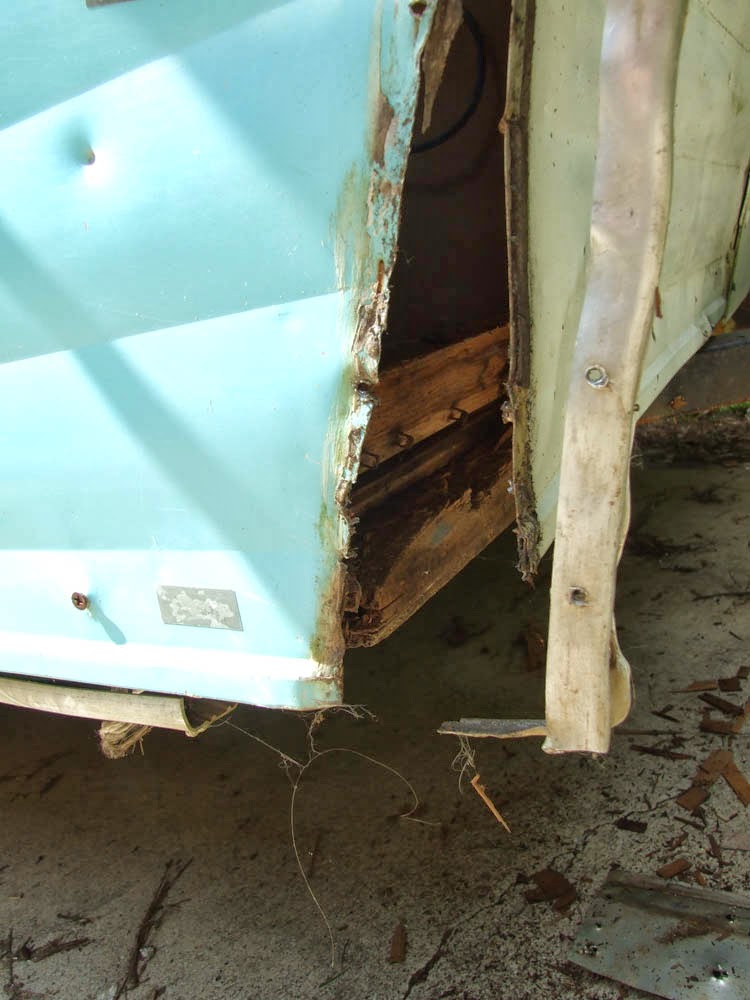
The bad, the roof, or what's called the overhang. There was a lot of water damage. These vintage campers are made from plywood, 1x2's and aluminum. There's not much holding these campers together so when they get wet, they rot easily.

We wore our dust masks and removed ALOT of rotting wood. That took a long time.
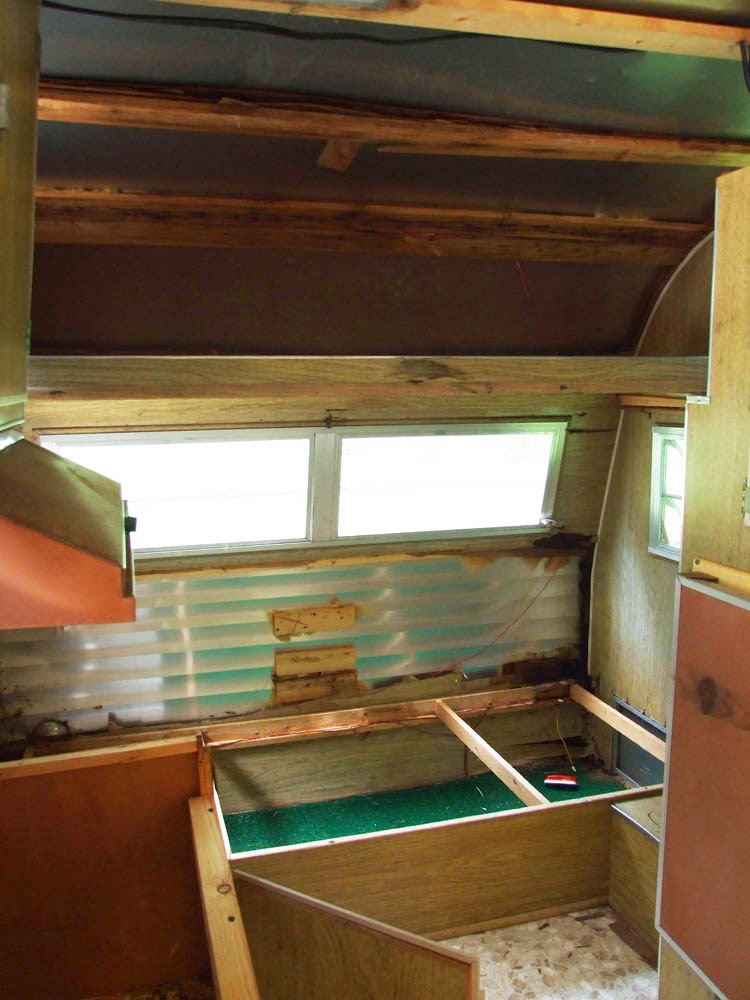
We eventually got it so we could breathe and it didn't smell to terrible.
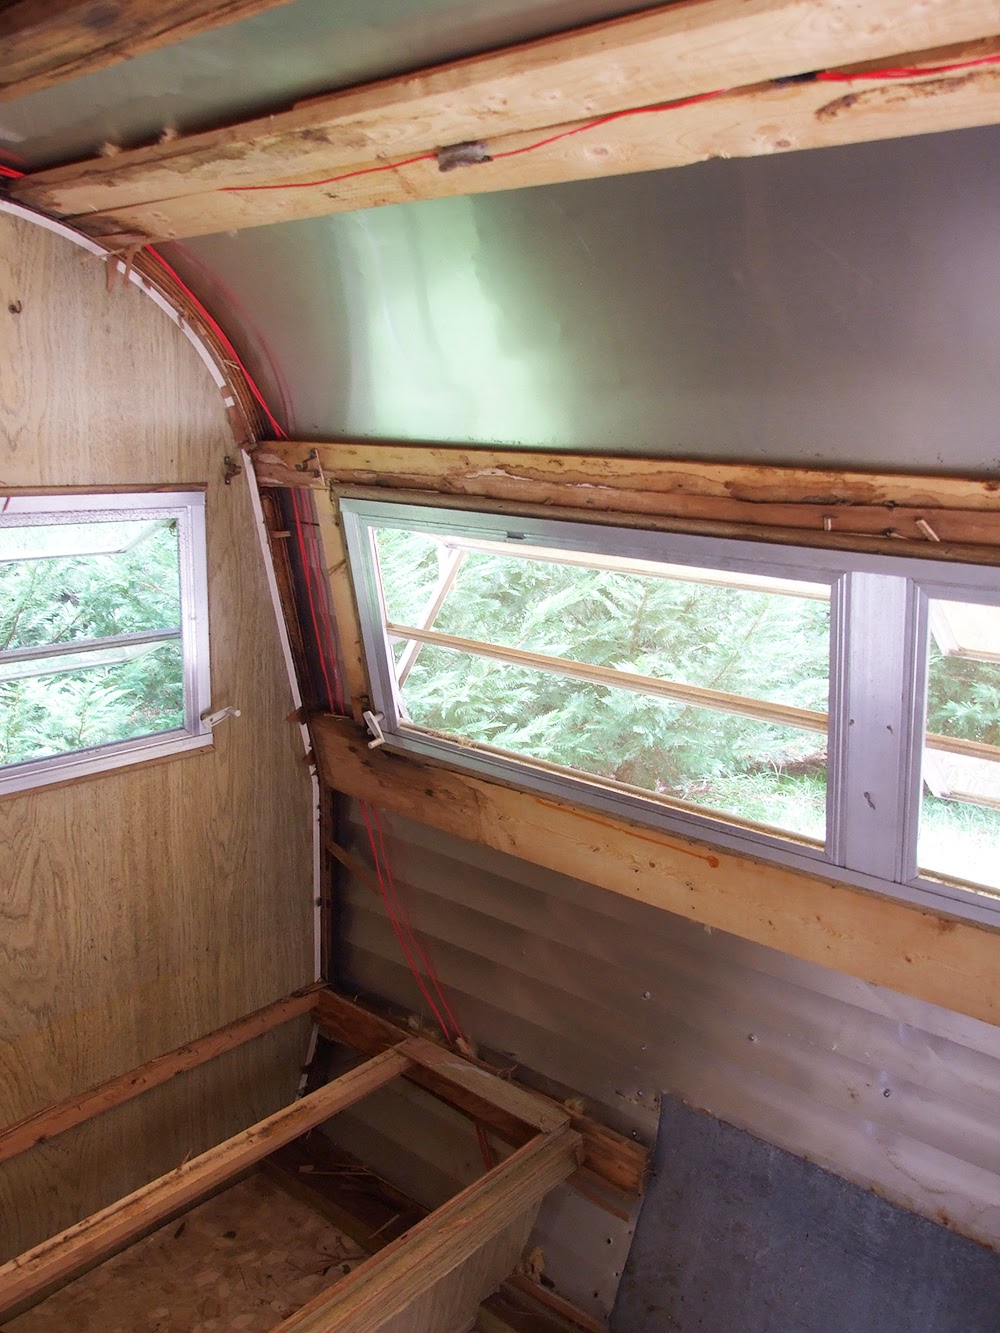
Next, I replaced most of the wood cross beams. They are what's holding the camper together. I also sealed and then re-sealed all of the outside. Every little screw, pin hole, crack, edge, you name it got some kind of sealant.


Next, I moved onto the outside. The outer body was in good shape except for a dent that I am assuming happened when the previous owners backed in to something. The small metal railing that is supposed to go the corner where the two sides meet up was not big enough after the damage. Now let me stop here and say, we were never out to recreate the exact Serro Scotty that it was in 1969. We wanted to keep as much as we could but we have done some things that vintage restorers would cringe at.
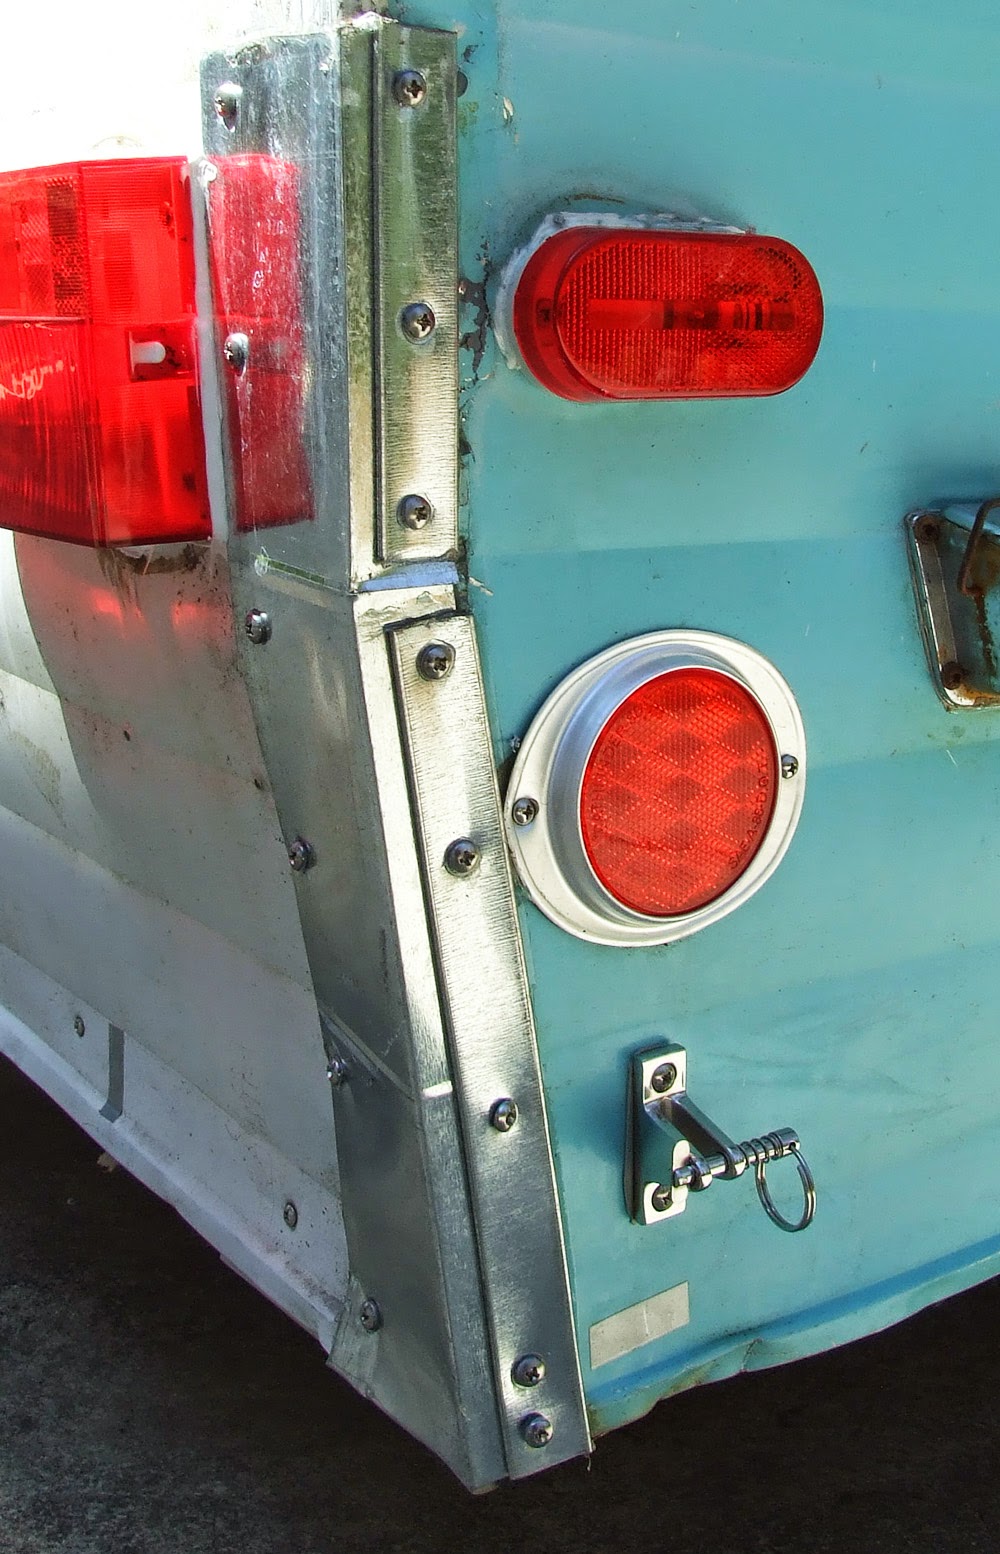
How I fixed the bumper was one of these things. As someone who just wants to have fun camping int a super cute camper, here was my solution to the bumper. Ductwork, I found it in what is now my favorite department at Lowes. This aluminum is for heating and cooling vents. It happened to be a nice corner shape. I did some cutting and was able to screw in two larger corners.

After getting the outside in shape it was time to work on the kitchen. The cabinets were all needing to be rebuilt. We decide to cook outside and avoid the mess inside so we opted to leave out the stove, which meant I could get another drawer in the cabinets.
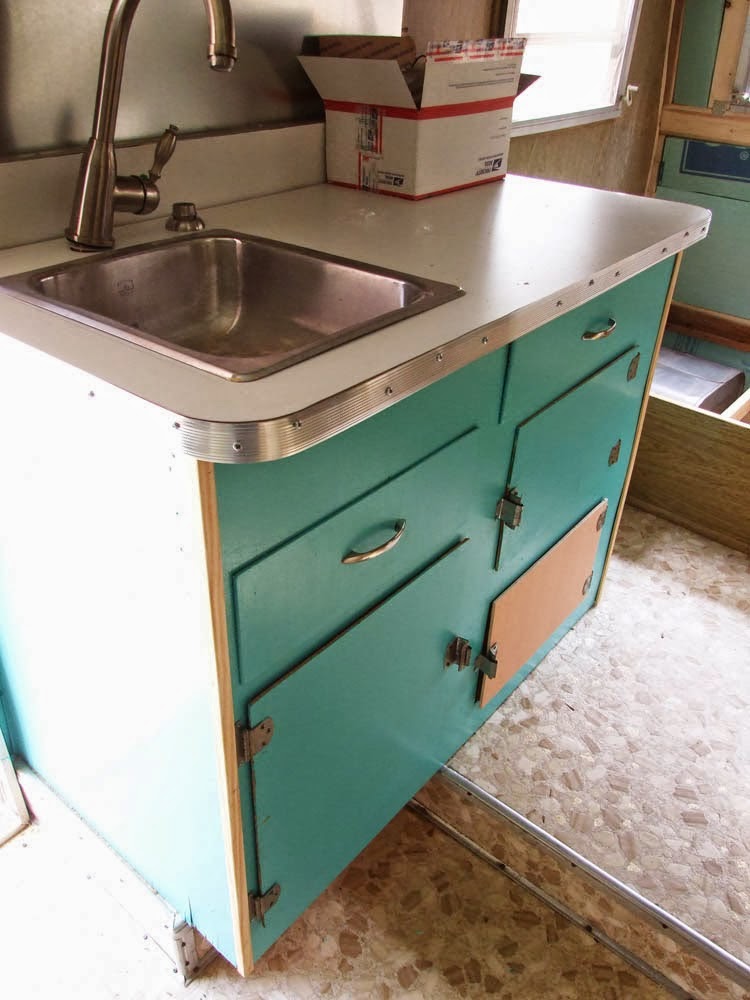
The cabinets still need some painting and there is caulking to be done, but it's getting there. I found the counter top at the Habitat for Humanity Store. It was 6.00 and the metal trim is for carpeting, but it worked well as metal edging.
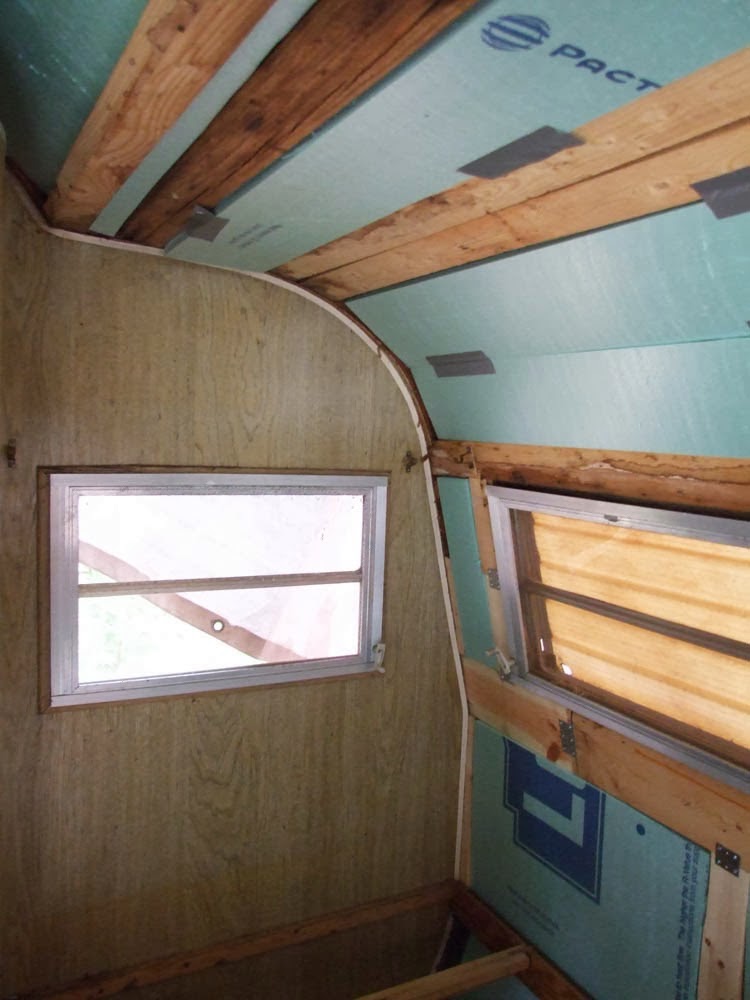
I insulated everything.
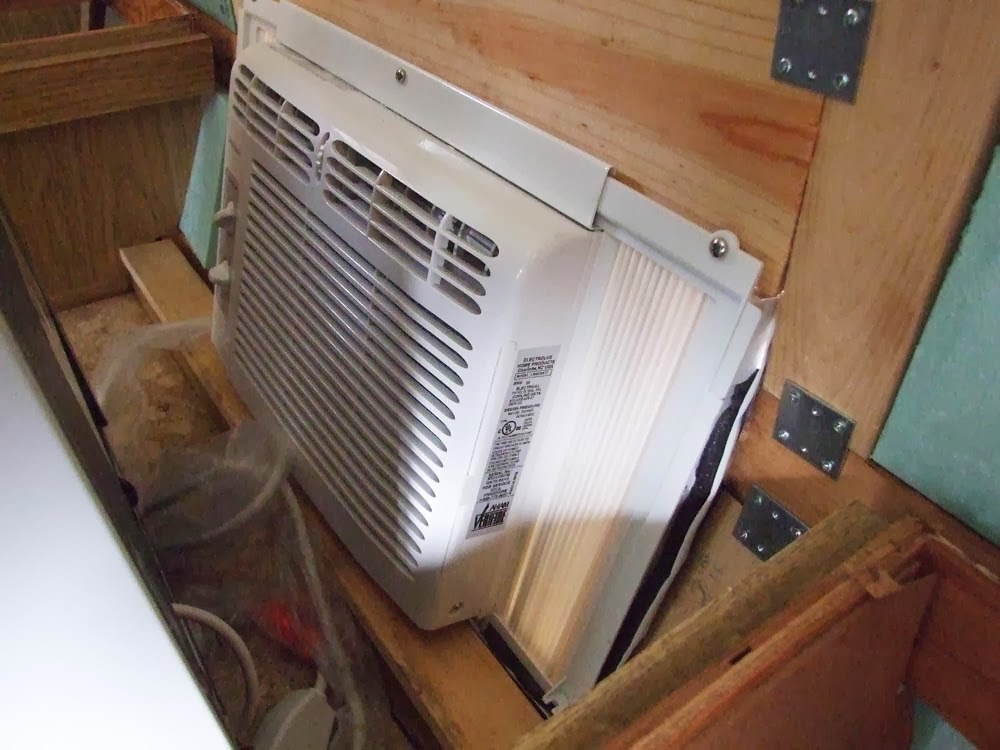
This is where we were at the end of January. We took it to the camper shop to get a new water tank, a water heater and pump installed, and a battery/electrical system put in. We now have Lucy back as of this past Saturday and the work has begun. I'll show you more tomorrow, especially all of the sewing I have been doing.

Back to the photo WAY at the top of this post... Here's what I did to make this Camper Pin Cushion.
The pin cushion was made using my pin cushion in a cup pattern that you can find here. I left the top two rings off. The camper was sewn on the top and the bunting was made with little scraps of fabric and my new Pin Cushion Bunting Pins. More on those and other things you can do with them and the little campers later in the week.
Go enter the Give-A-Way and then tell all your friends!
Be back tomorrow,

Visit my Website, Etsy Shop, Blog, Facebook