- No products in the cart.


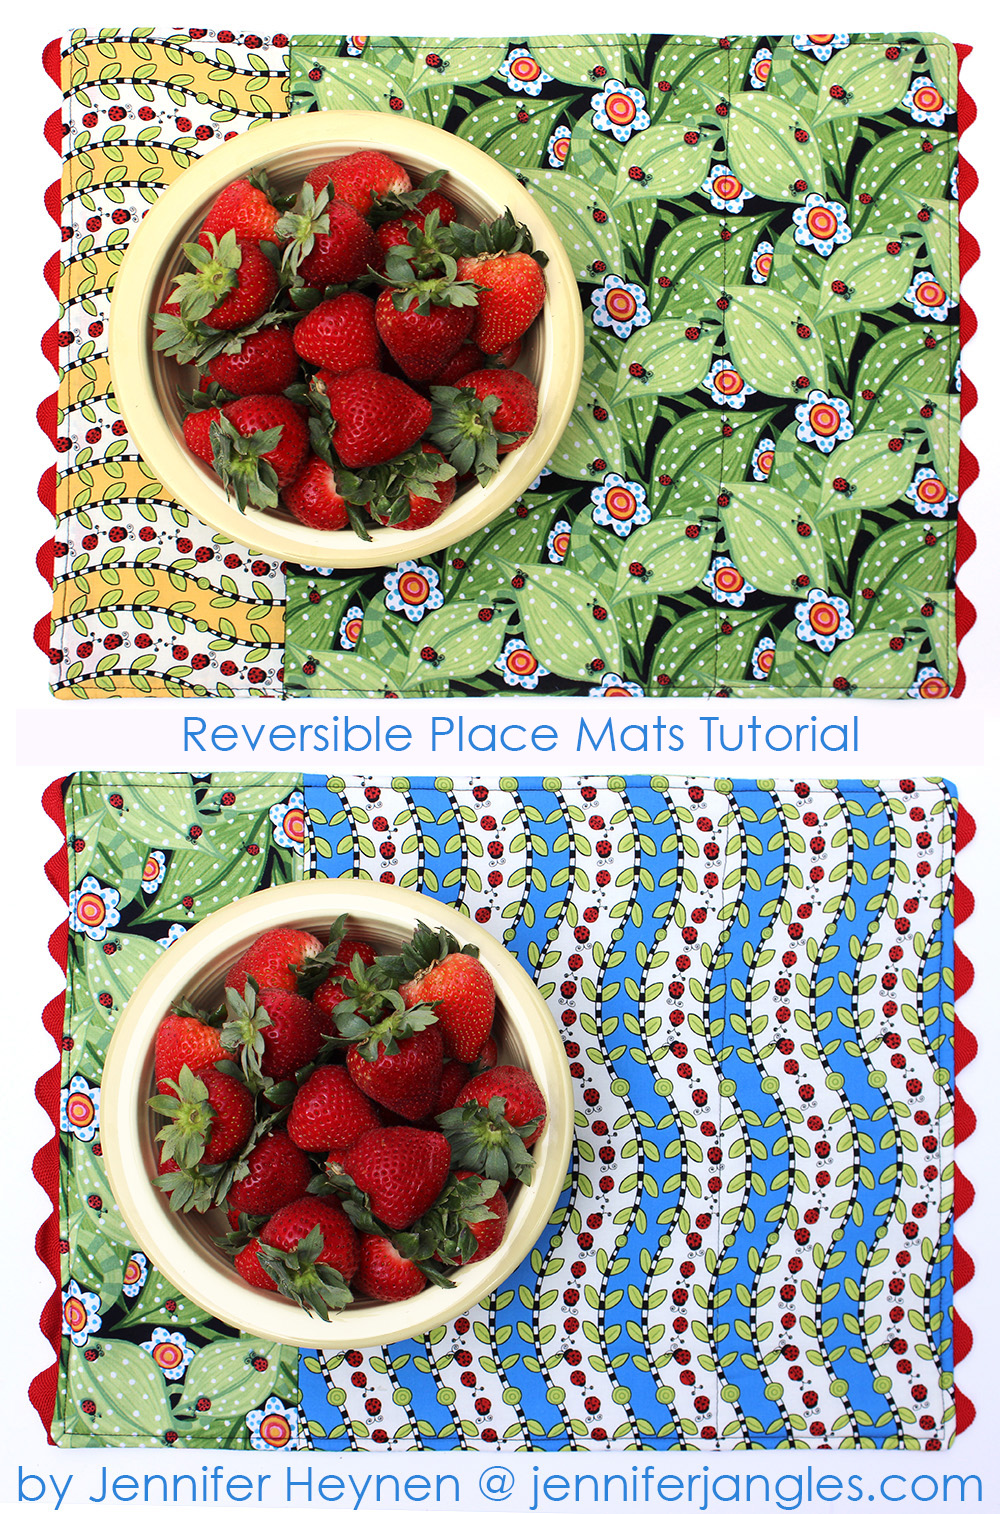
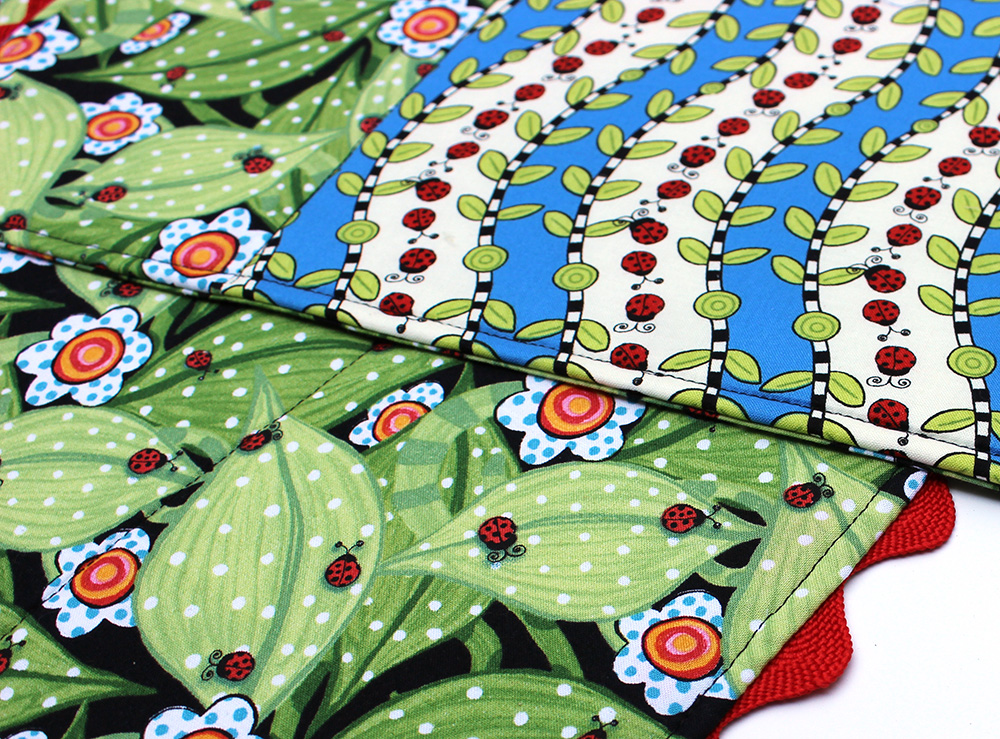
Later this month is the Stetson Mansion Quilt Show. I was asked to send some projects to help fill the kitchen and the children's room. These place mats are on their way to the show right now. I'll get you more details about the show and show you what else I am sending soon. In the meantime, here is a tutorial for making them. You might want to knock out a set for your 4th of July festivities. Did you see they are reversible?
Finished Size:
Approximately 12" x 18"
You'll Need:
1/2 yard of 4 Fabrics (I used my BugaPalooza Fabrics)
1/2 yard Batting
4 Yards Jumbo Ric Rac
Coordinating Thread
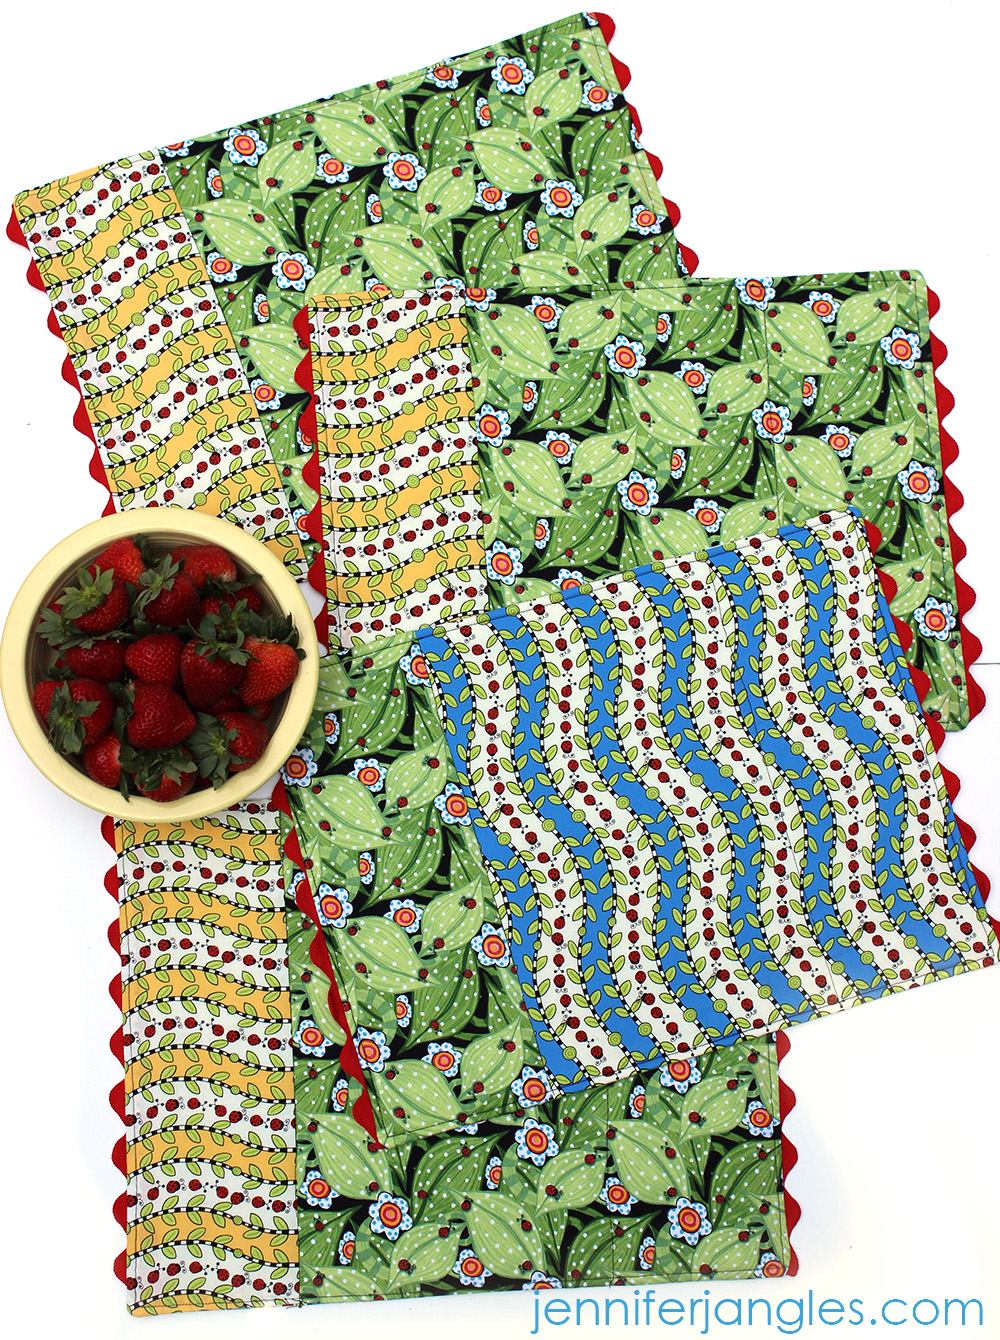
For a Set of four place mats, cut:
4 Side Strip Pieces measuring 6" x 12"
4 Side Strip Pieces measuring 6" x 12"
4 Main Pieces measuring 12" x 12"
4 Main Pieces measuring 12" x 12"Instructions:
1. Sew a side strip to a main piece to make the rectangle place mat and press. Make 8 sets of these, 4 in one colorway and 4 in another colorway.
2. Choose one of each colorway pieces that you sewed and arrange them so they have right sides facing. Arrange them together so the two smaller sides are on opposite sides, in other words so the two smaller sides don't match up. This will make the place mats lie more evenly.
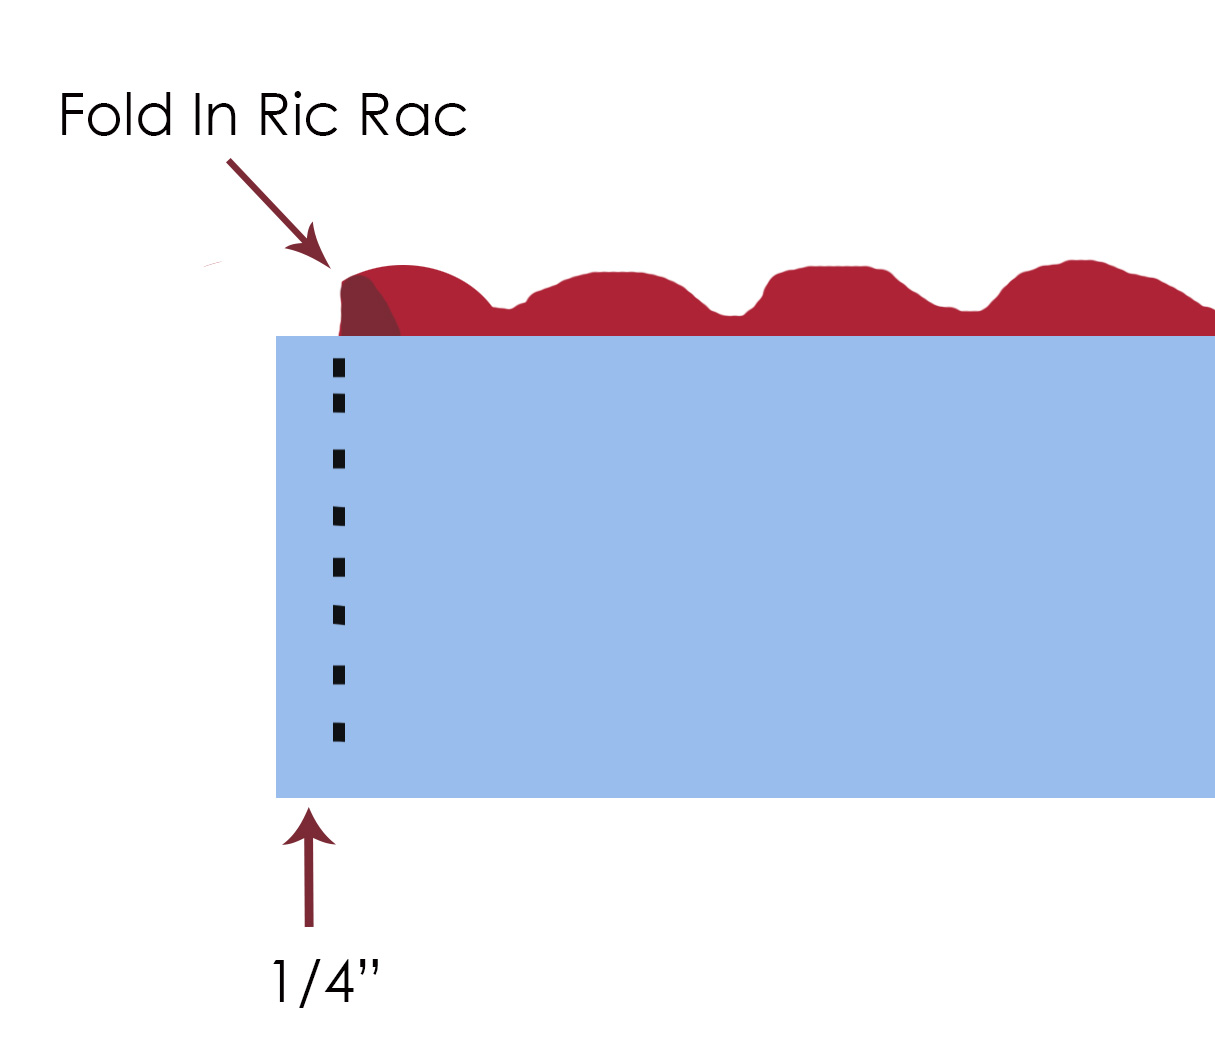
3. Place the mats on top of the batting and trim the batting to the size of the mats. Pin ric rac along each of the shorter sides. Fold the ends in on the ric rac so it does not get sewn into the corners. See diagram below.
4. Pin all three layers together. Using a 1/4" seam allowance, sew around all four sides of the place mat leaving a 4" opening along one of the longer sides.
5. Clip the corners and turn right sides out. Press. Fold the raw edges inward of the opening and press and pin. This opening will get sewn shut when you top stitch the placemats.
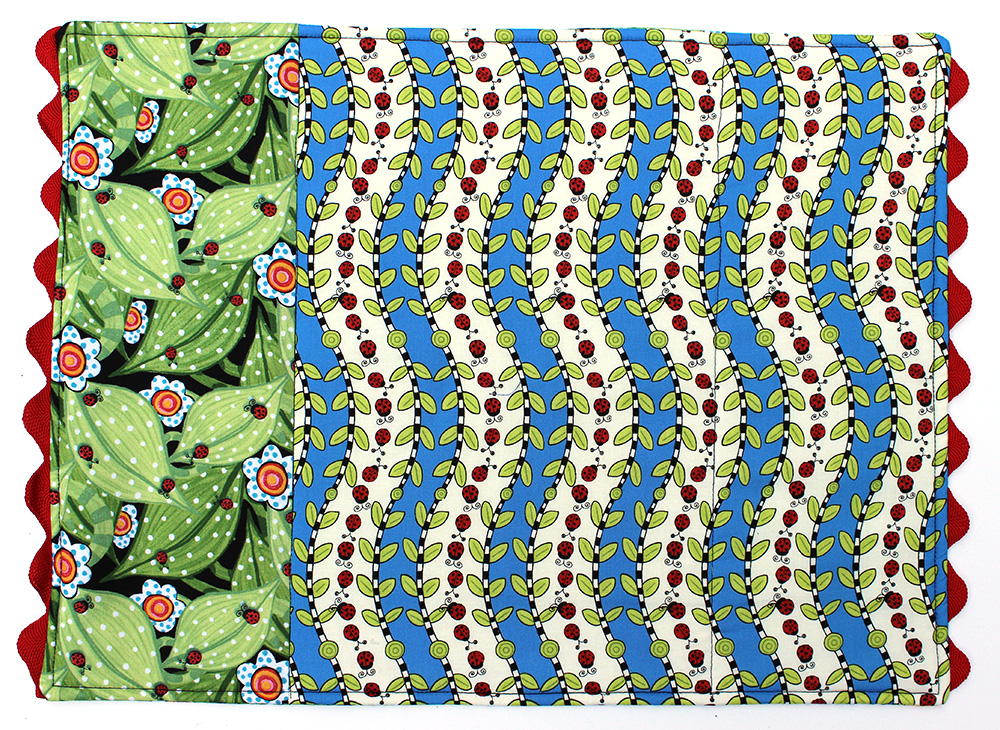
6. Top stitch around the outer edges of the mat as well as down the ditch of each side. (If you look closely in the picture above you can see the stitching approximately 1/3 of the way over from the right edge. That is the seam of the two pieces on the opposite side. )
You're finished!

Have a great day,

Visit my Website, Etsy Shop, Blog, Facebook