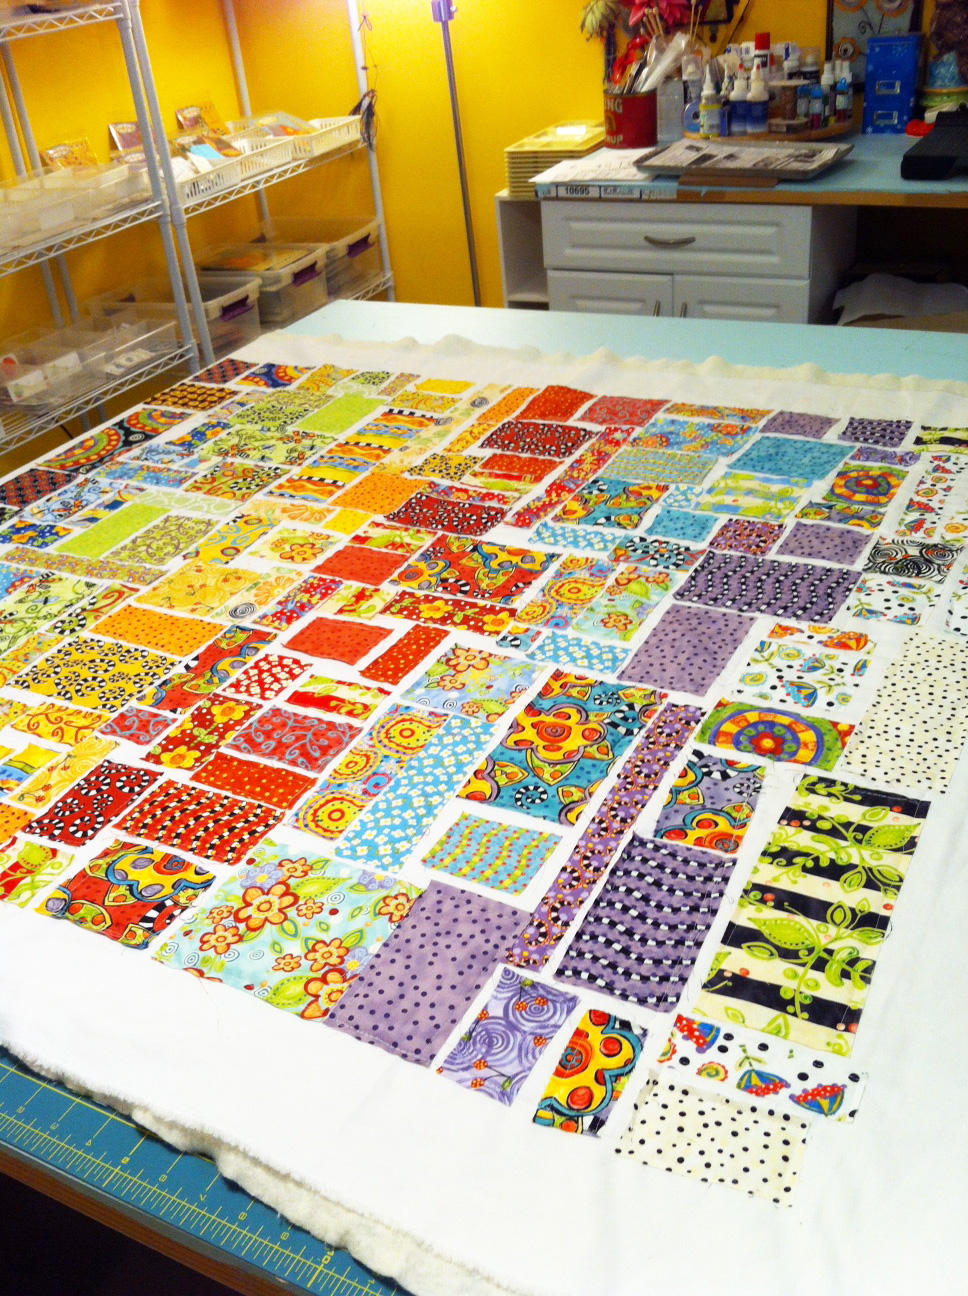
I finally had a chance to get my ticker tape quilt photographed, yipee! I had so much fun making this quilt. I had a big ol bag pf scraps containing fabric from all of my previous lines. I can't bear to let go of any of them so when I came across a picture of a ticker tape quilt I knew I had found there use.
First I started by deciding how large I would like the quilt to be. With ticker tape quilts you quilt as you go. Since this was my first time doing this I decided to stay small. My quilt would be a wall hanging measuring 36" x 45"-ish. I cut my white background, batting, and backing a bit larger. Sandwiched them all together and got it all on my work table. I started sorting my fabrics and cutting squares and rectangles of all sizes. At that time I didn't have a clue about how I was going to lay them out. I like to figure things out as I go, so I hopped right in to cutting and arranging.
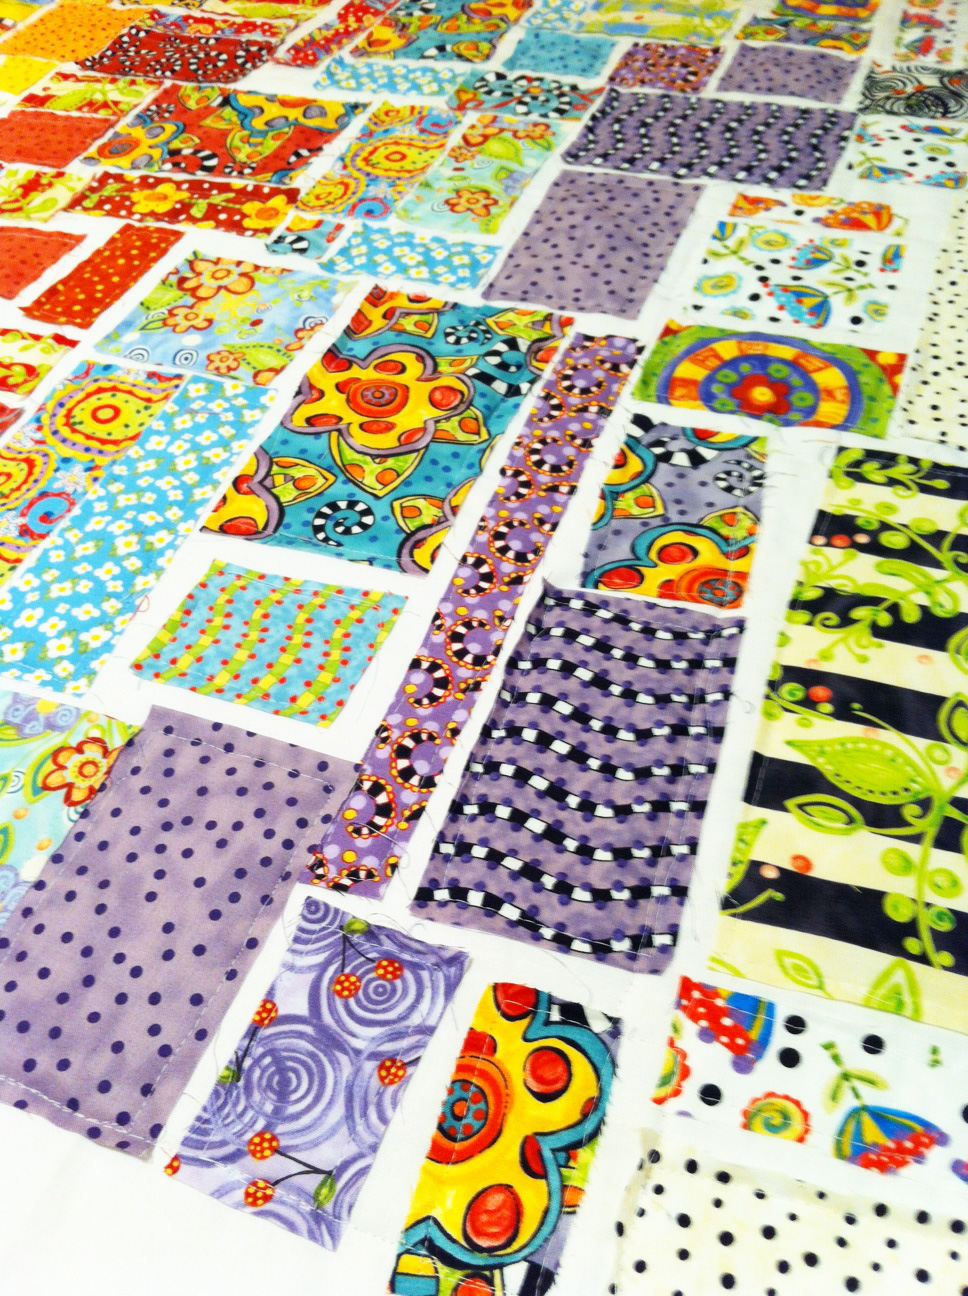
In the first layout I had colors scattered around and it was just too jumbled for me. So I then started grouping the blocks by colors. I was happy with this layout so I started pinning. I tacked each piece down with a straight pin. This was just to hold it's place. When I started sewing I would line it up near the other blocks to be straight. I chose to sew around each block and then continue on to the next without breaking my thread. That must be the lazy(or efficient) quilter in me. :)
After sewing down all of my blocks, I could trim the excess background and bind the quilt. Ta da!
We are planning to hang this one on the lime green wall in our bedroom. I snap a picture as soon as that happens.
Want to know more about ticker tape quilts? Head over to the Sew Mama Sew
blog.
Visit my Website, Etsy Shop, Blog, Facebook, or Studio and Gallery