- No products in the cart.

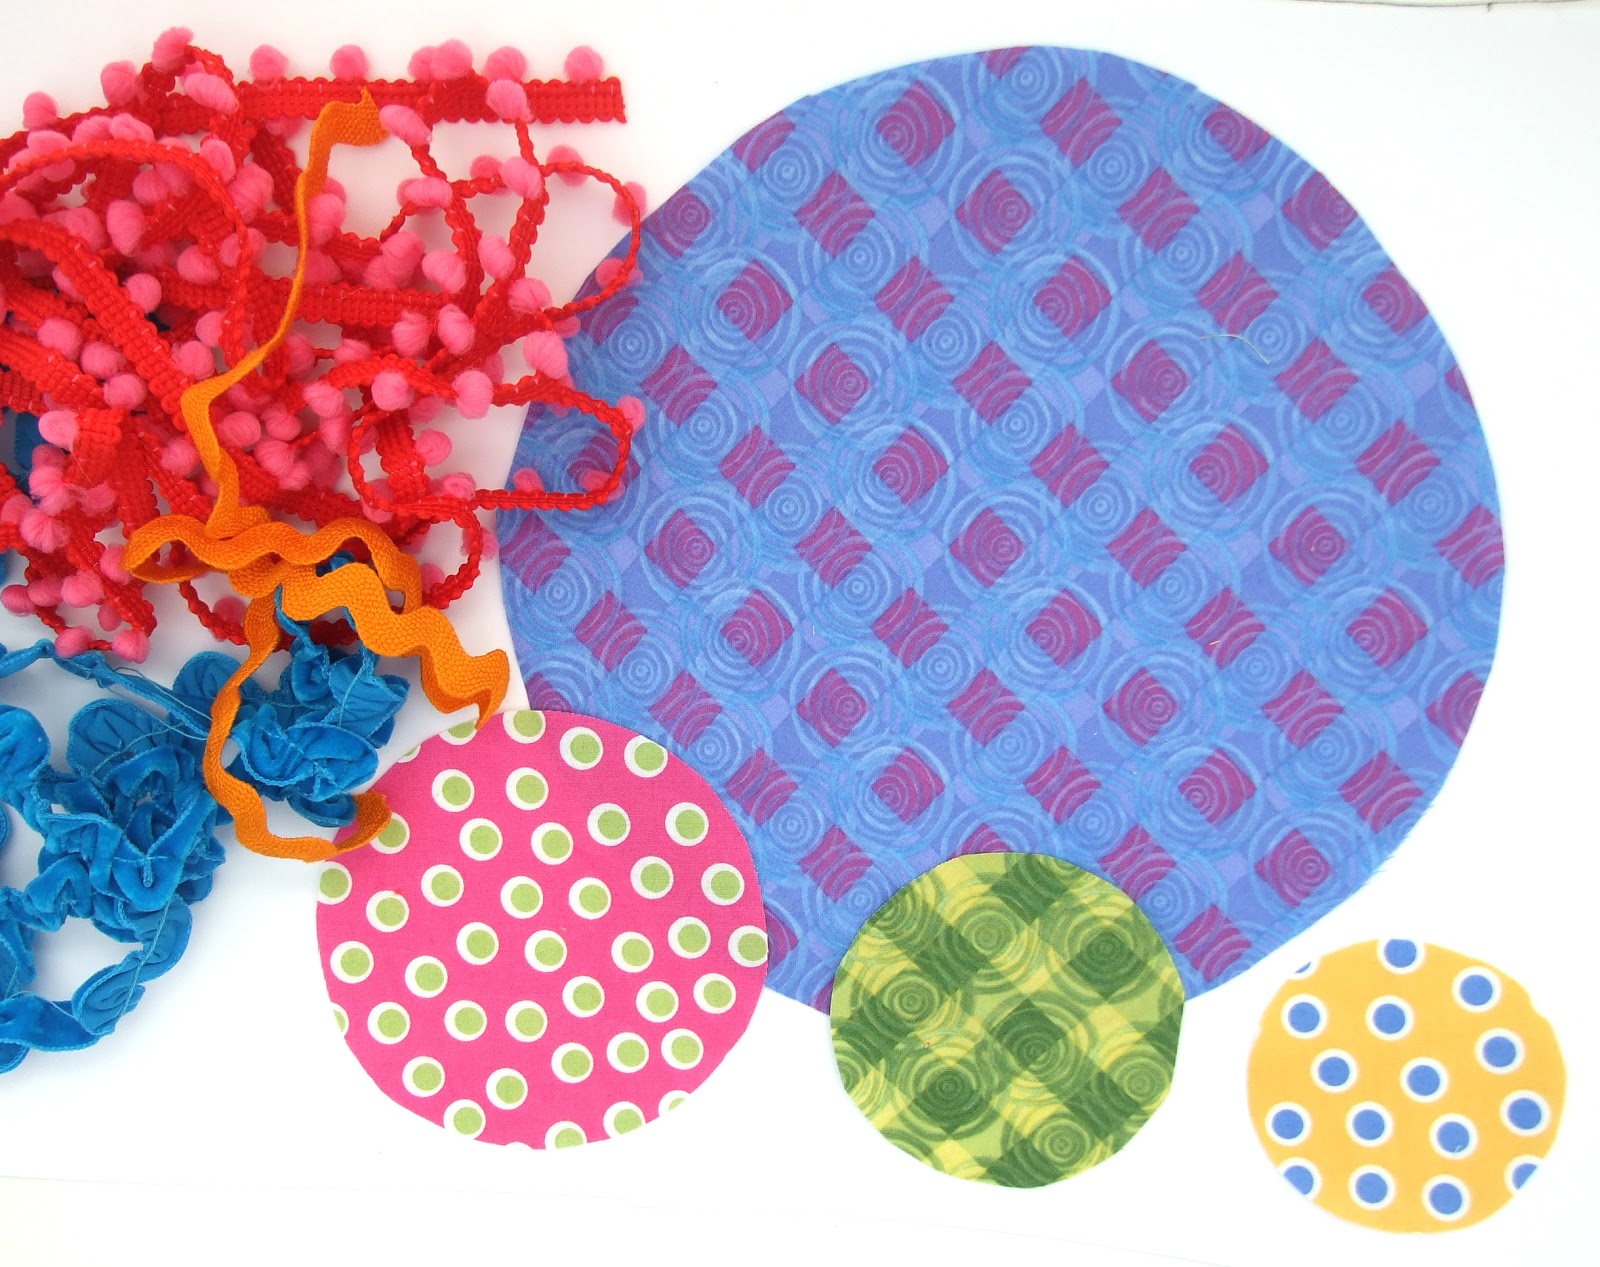

1. Pin the trims around the outer edge of each of the circle sizes. Make sure to point the outer edge of the trim inward.
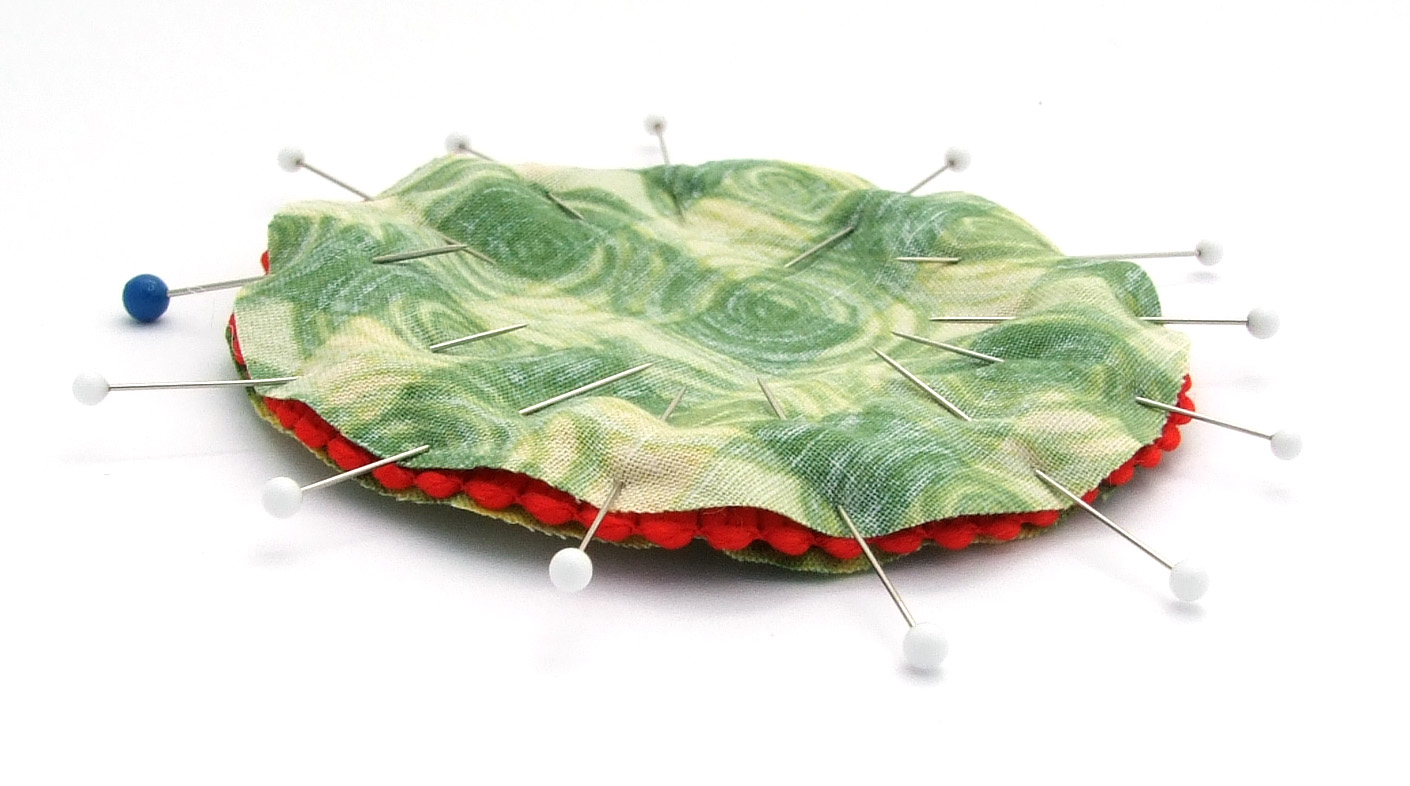
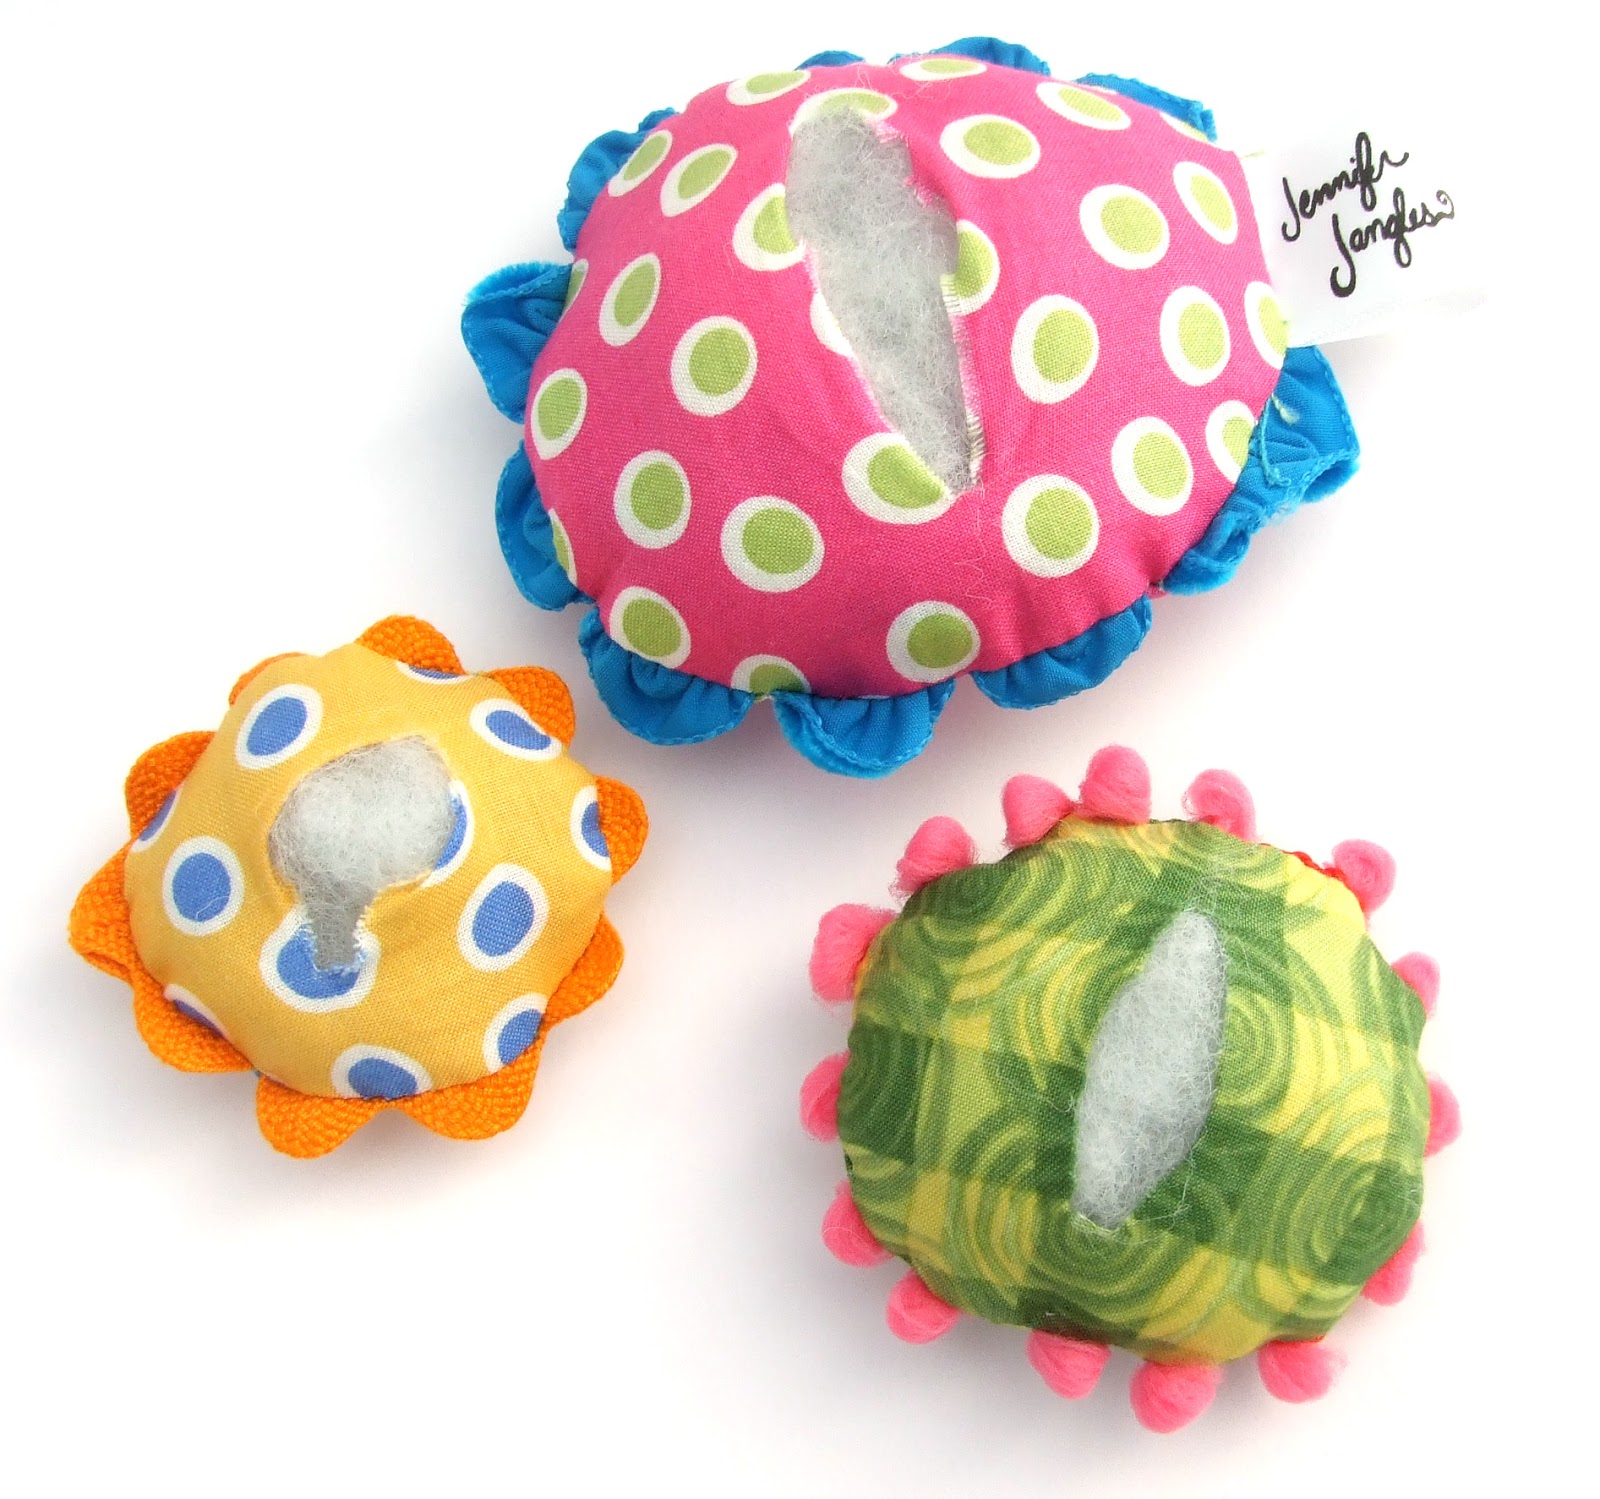
3. Cut a slit down the bottom side of each circle. Clip the curved edges and turn right sides out. Fill with fiberfill.

4. Stitch closed. (Theses stitches will be hidden.)
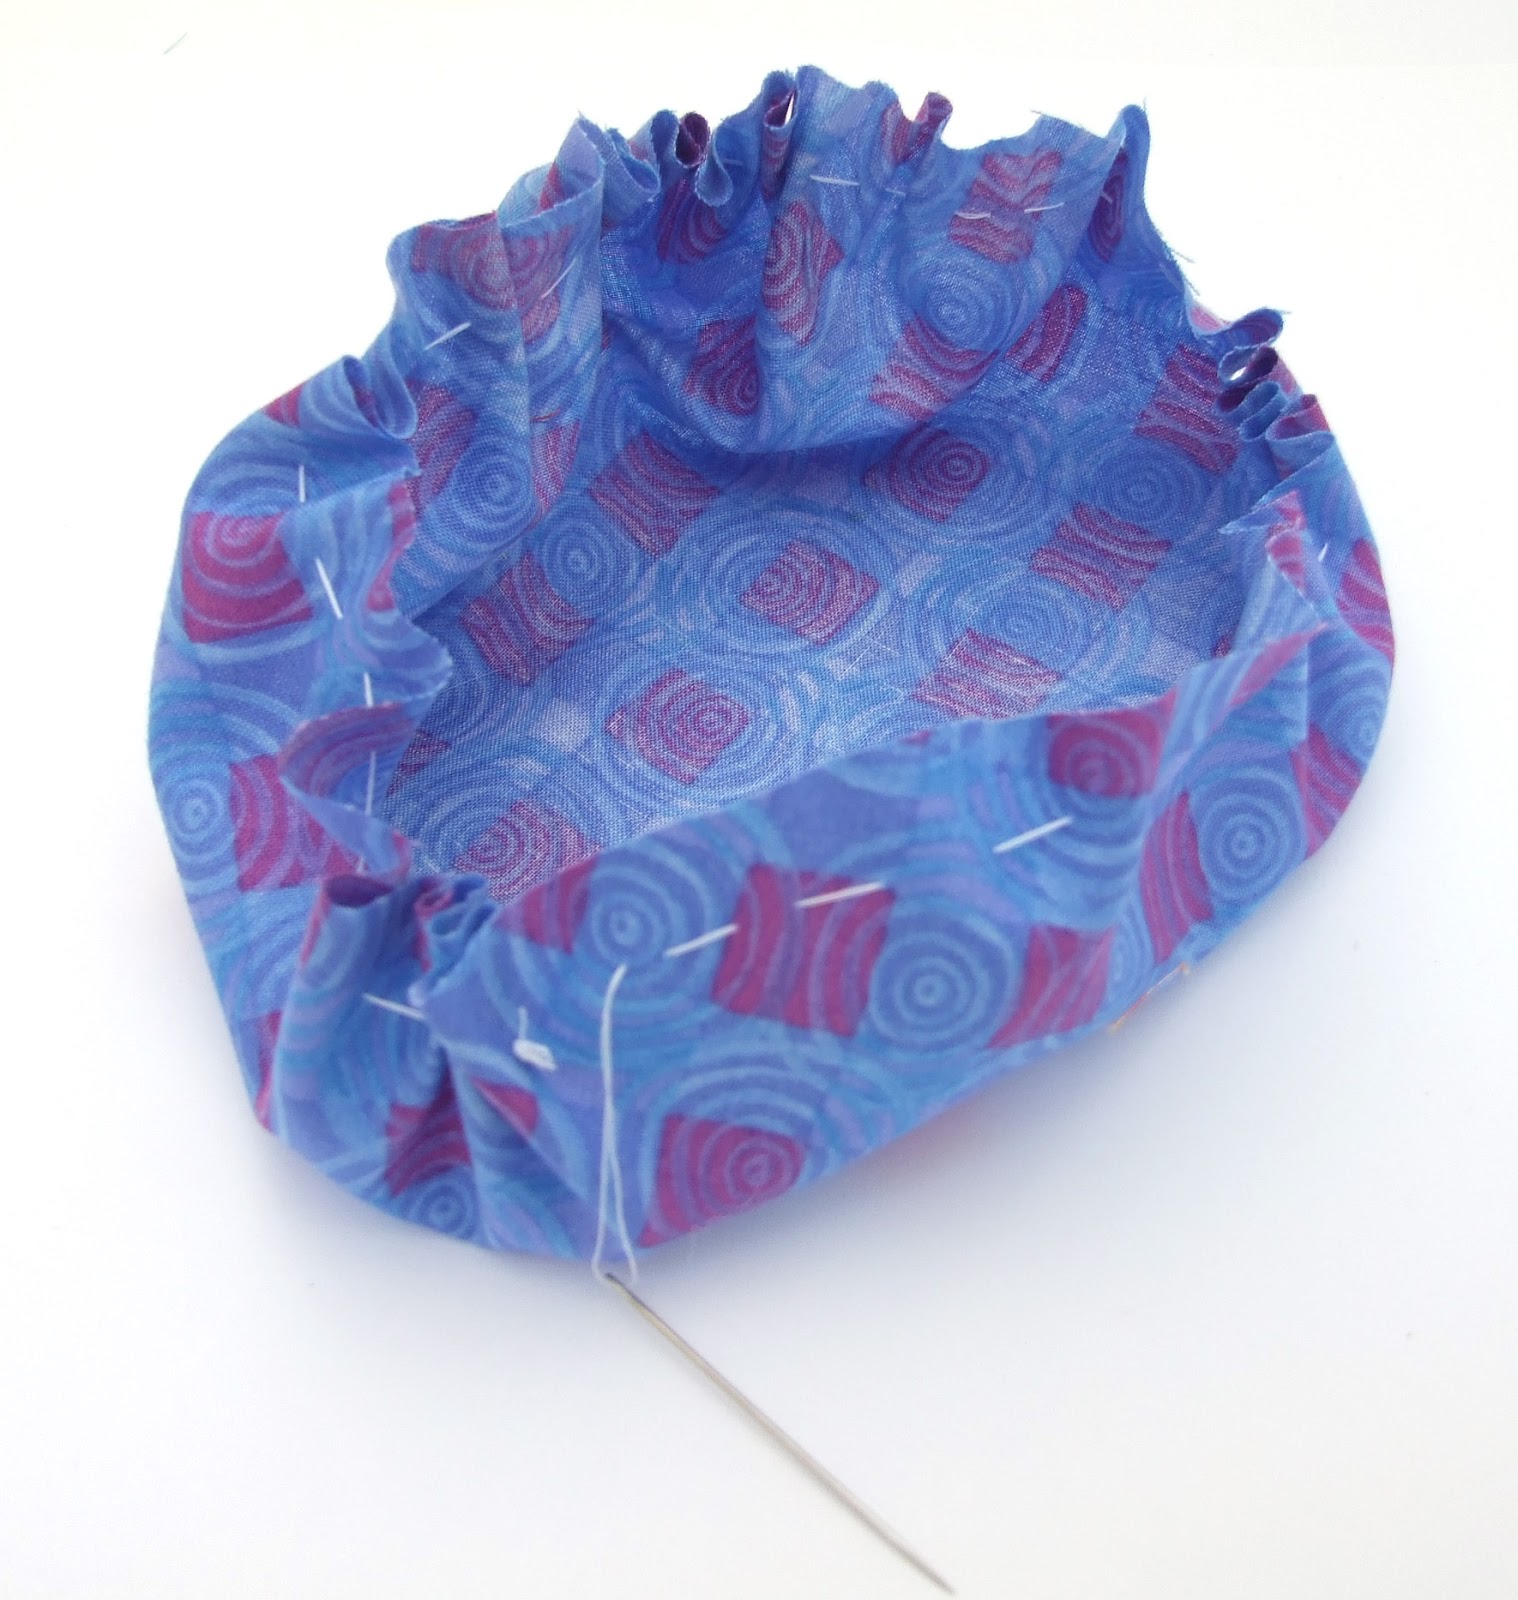
5. The single large circle you cut is for the bottom of the pin cushion. With e needle and thread run a gathering stitch around the raw edge.
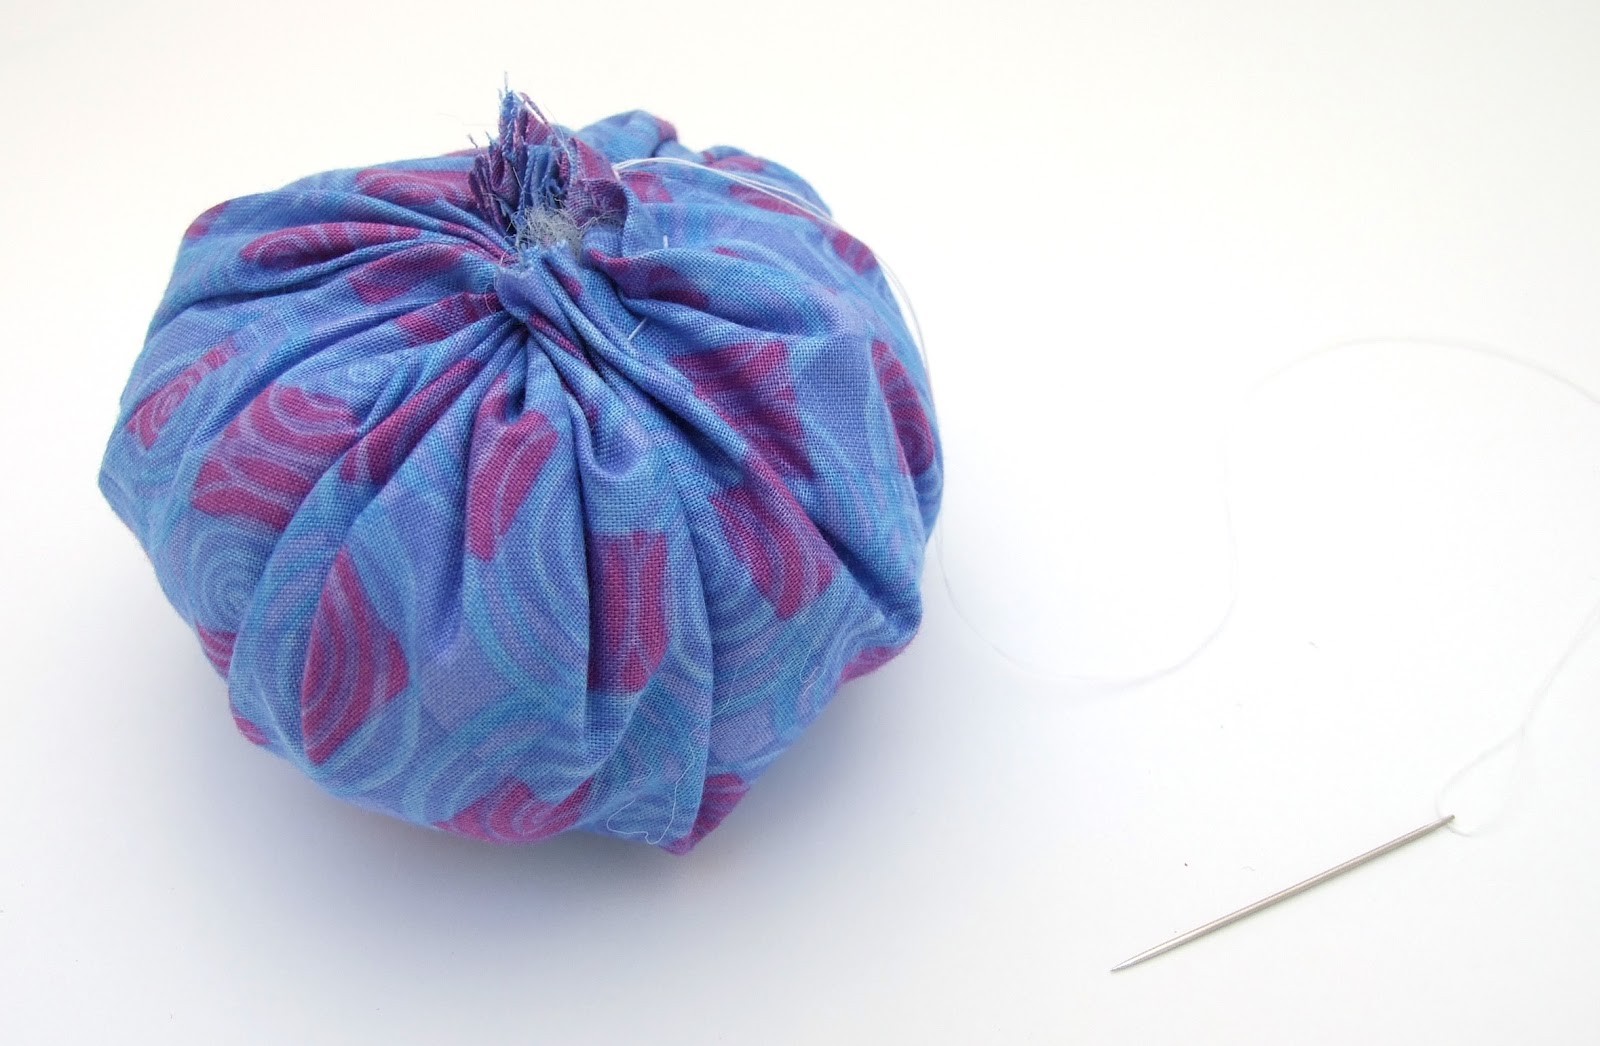
6. Fill with fiberfill and pull the thread snug to create a ball shape.
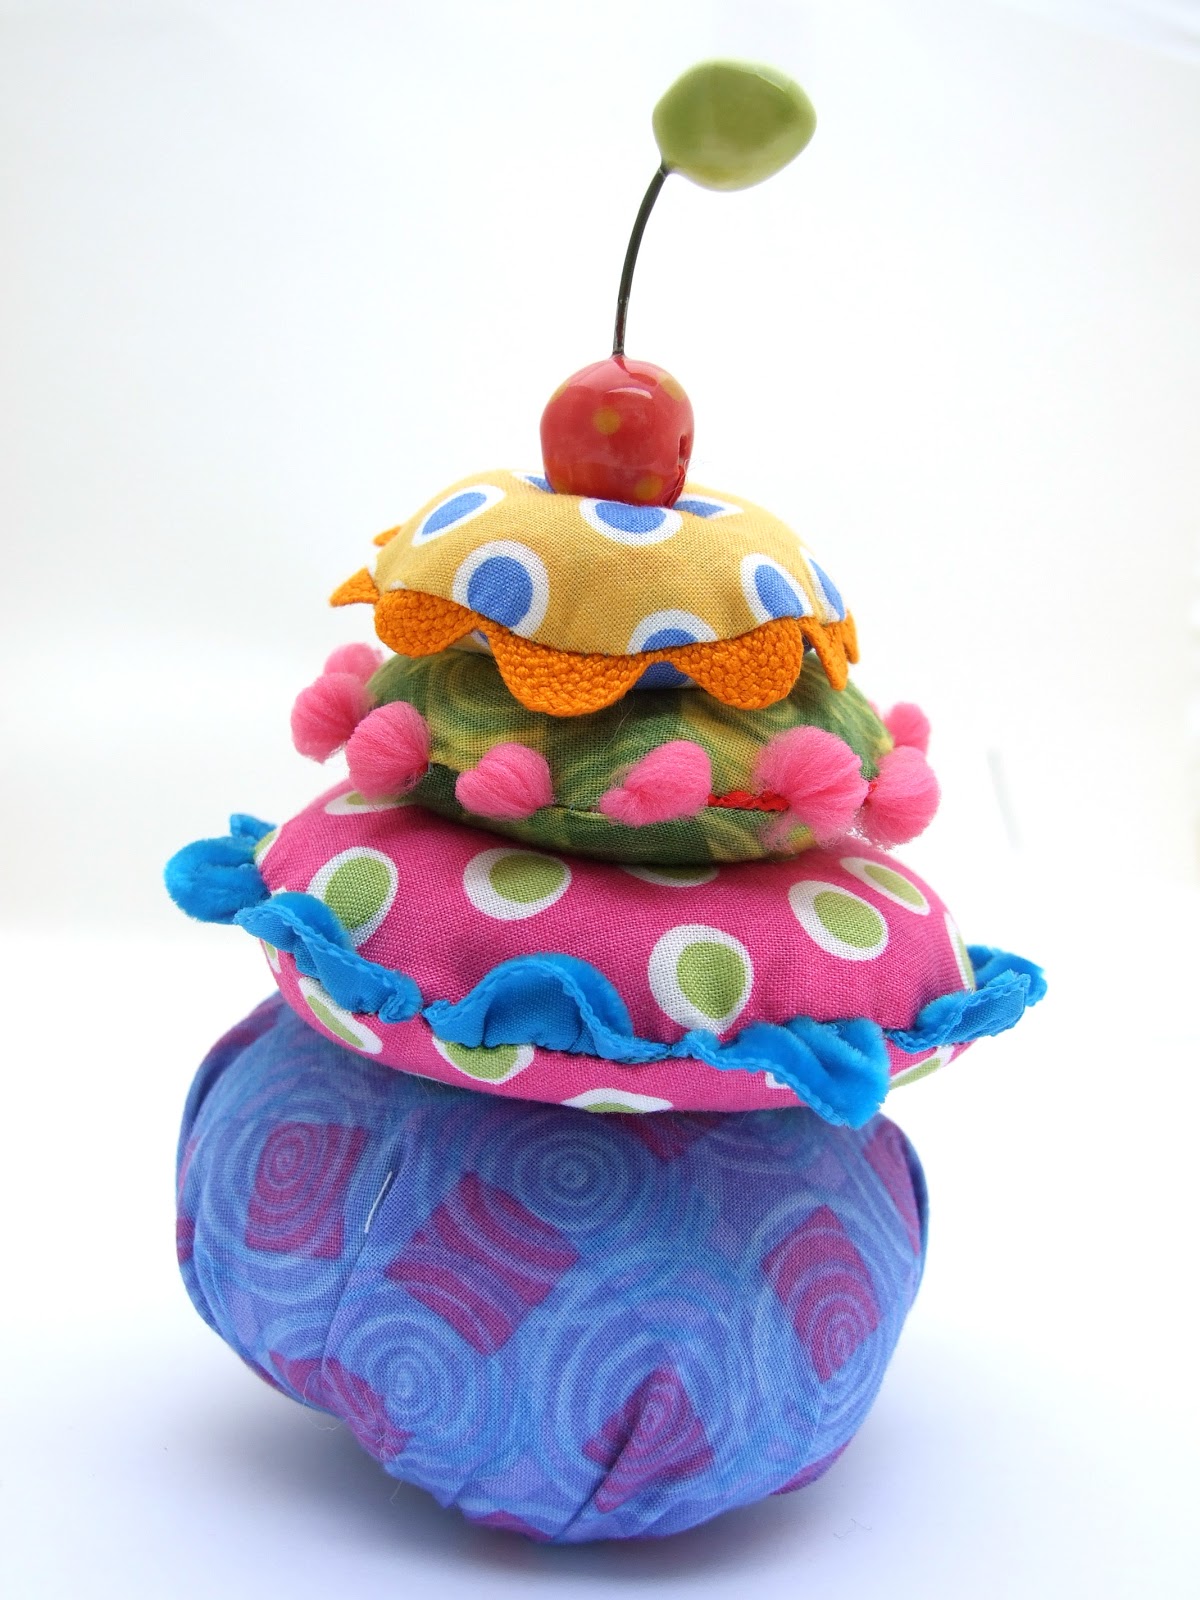

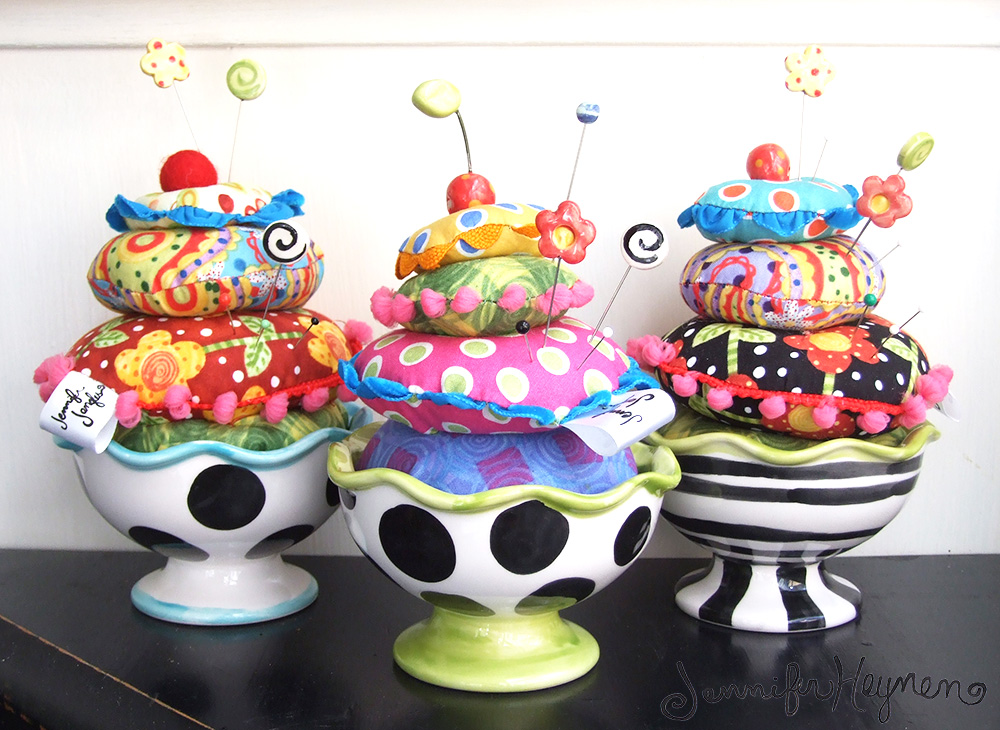
8. Using a glue gun place hot glue all around the inside of your cup or bowl. Arrange the cushion how you would like and let the glue dry. You're finished!
Enjoy!

The fabric used in this pin cushion is from my Extraordinary World Fabric Collection from In The Beginning Fabrics.
The downloadable Pin Cushions in a Cup Pattern is now free when you subscribe to the Maker newsletters.
Let's Connect!