- No products in the cart.

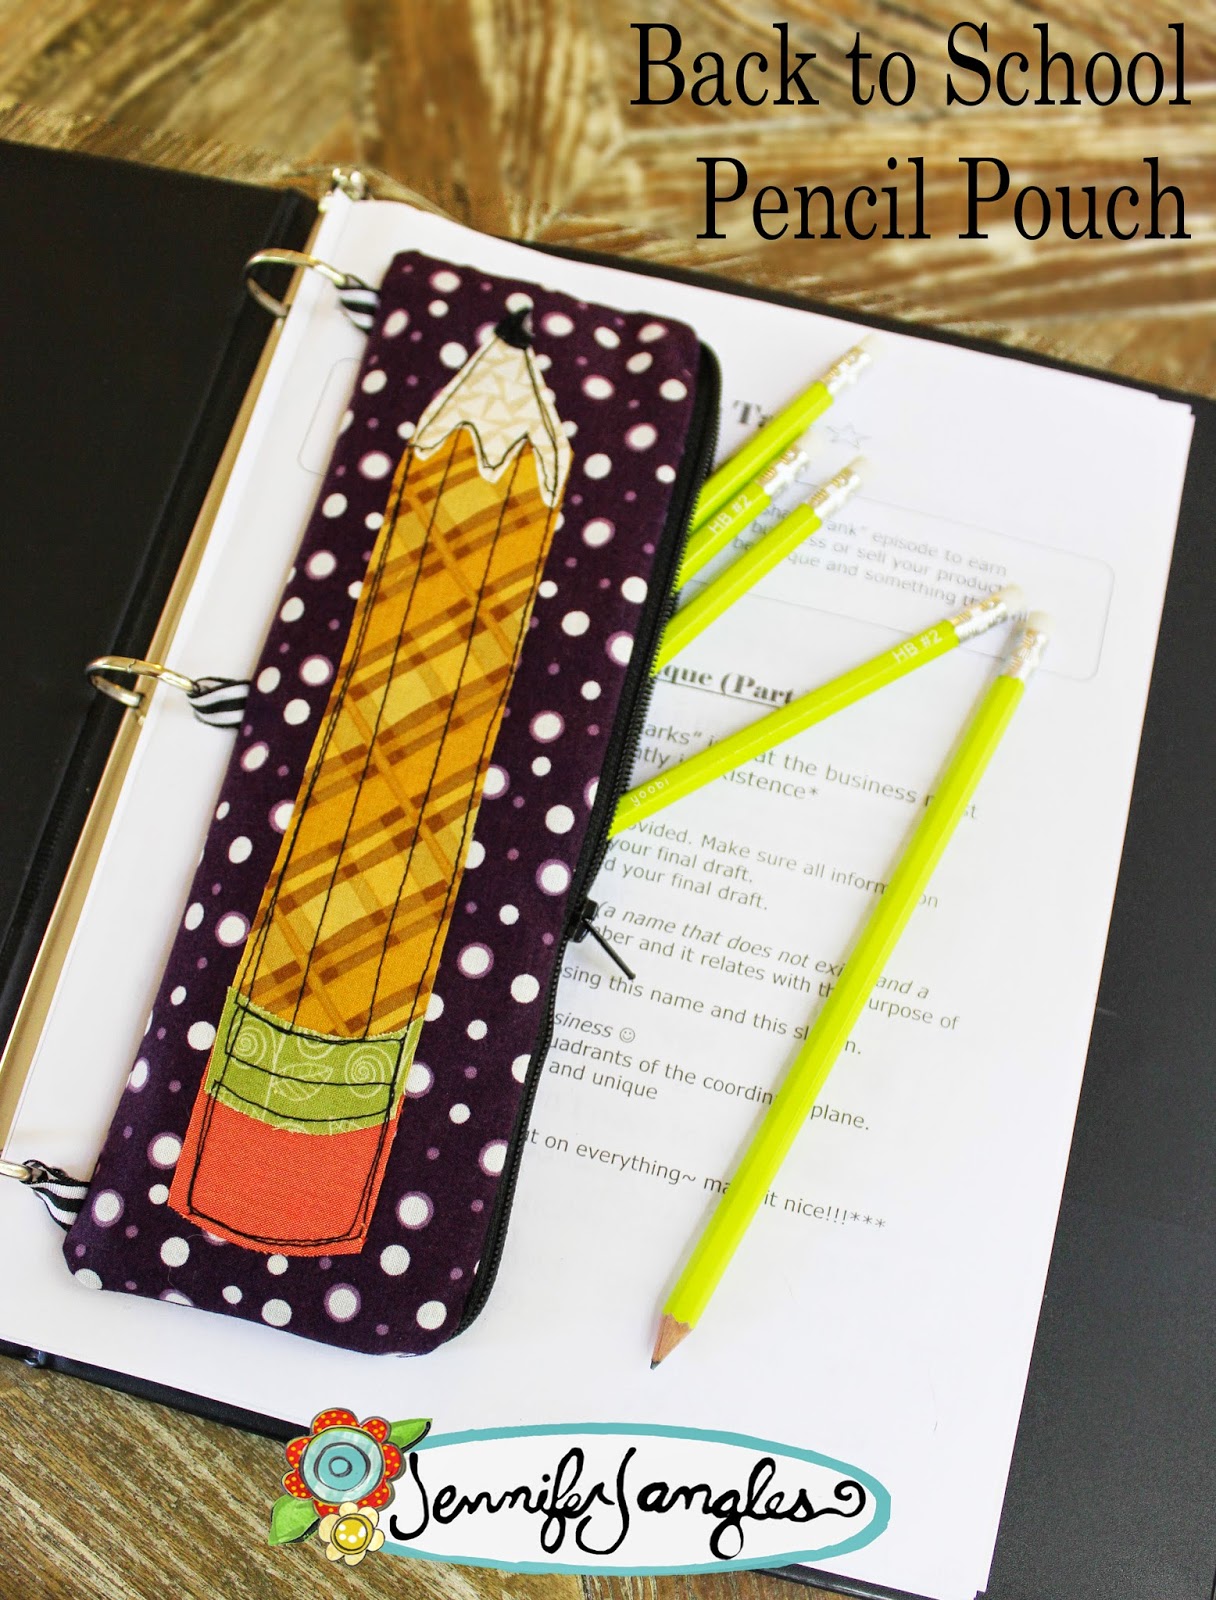
Got kids going back to school? Make this pencil pouch to fit into a three ring binder or leave the ribbons off for a pencil pouch to keep in your bag.
Supplies:
Printable pattern pieces
1/8 yard Outer Shell
1/8 yard Lining and pencil fabric
12" Zipper
9" ribbon
Scrap Fabrics for metal band, eraser, wood, and pencil lead
Instructions:
1. Cut two pieces of the outer shell and lining each measuring 10 1/4" x 3 3/4".
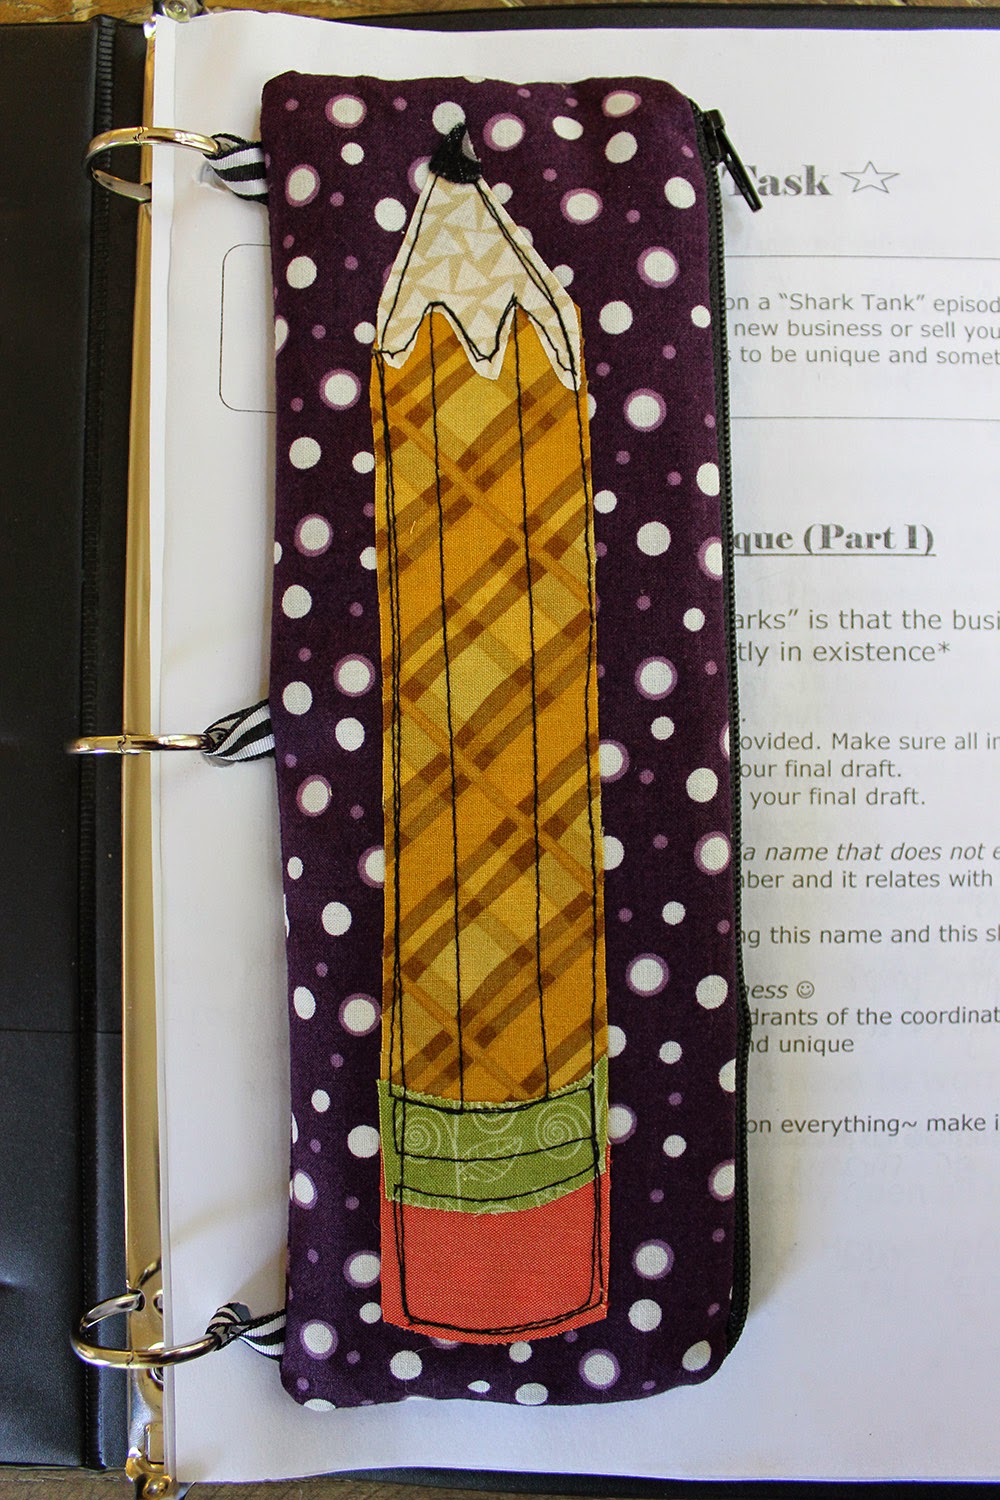
2. Trace the appliqués to paper backed fusible webbing. I use Heat n Bond Lite for this. Iron the fusible webbing to the corresponding fabrics and arrange on to one piece of the pouch fabric.
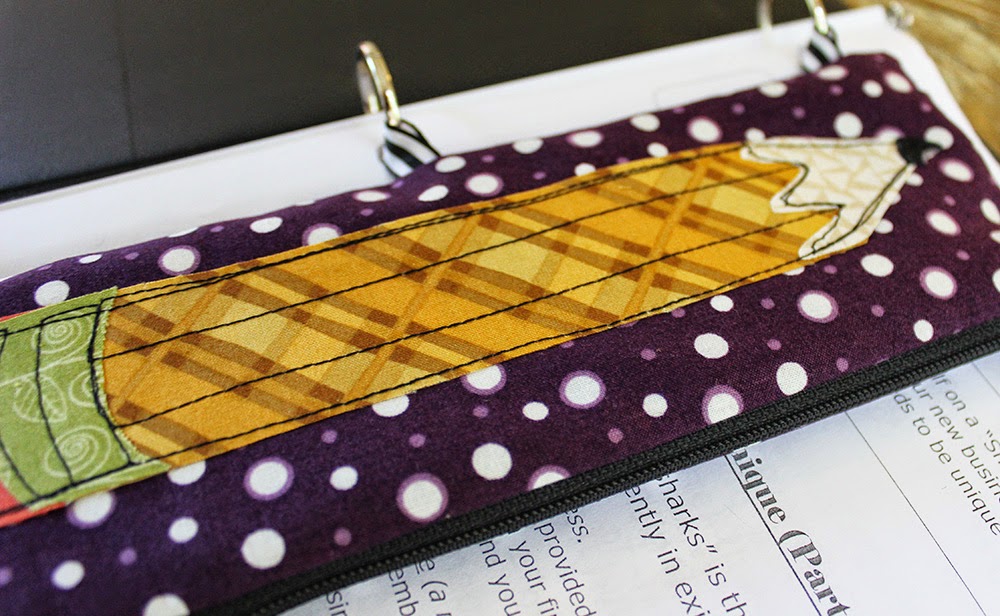
3. Using black thread stitch the details onto the pencil. See pattern pieces for reference.
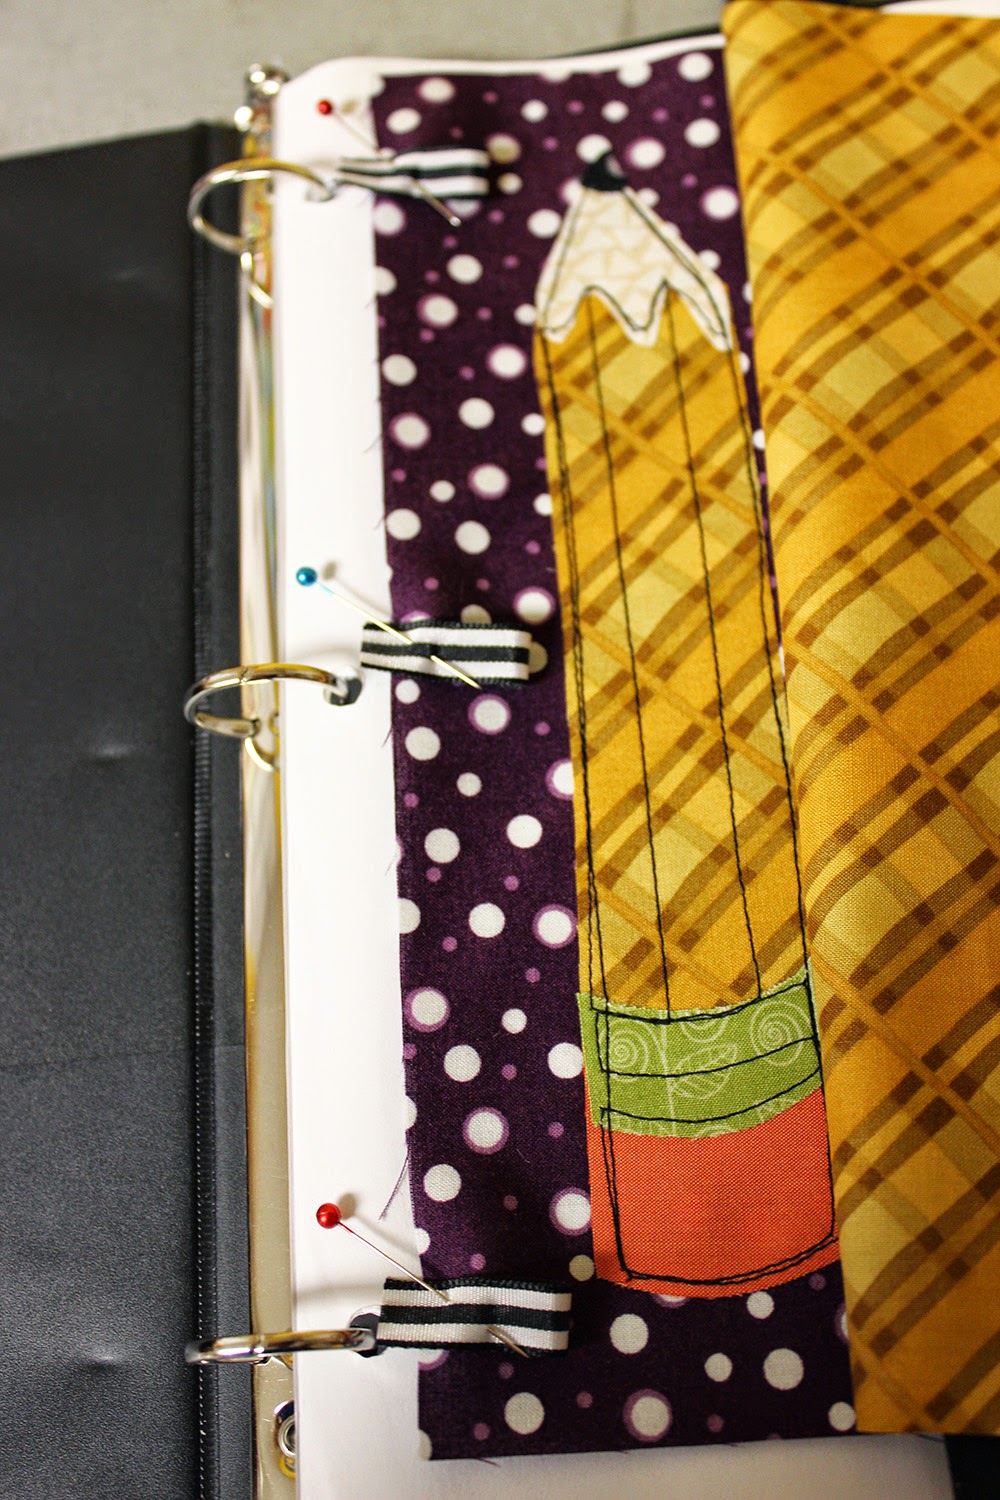
4. Cut three pieces of ribbon that are approximately 3" in length. Fold in half and pin in three place along the front side of the bag. If you don't have a three ring binder to measure, mine went at 3/4"", 5 1/4"", and 9" down from the top.
4. Next, sewn the zipper down the opposite side to the bag fronts and lining pieces. If you would like detailed instructions on installing a zipper and sewing the pouch, you can find them here. (loads of pictures)
5. After sewing the zipper place the rights sides of the front and back together. Stitch all the way around the outer side leaving a 4" opening in the bottom of the lining.
6. Clip the corners, turn right sides out, and hand stitch the opening closed. Push the lining into the bag.
Fabrics are all from my A Walk in the Woods collection produced by In The Beginning Fabrics.
Have fun!
Jennifer
Visit my Website, Etsy Shop, Blog, Facebook