- No products in the cart.


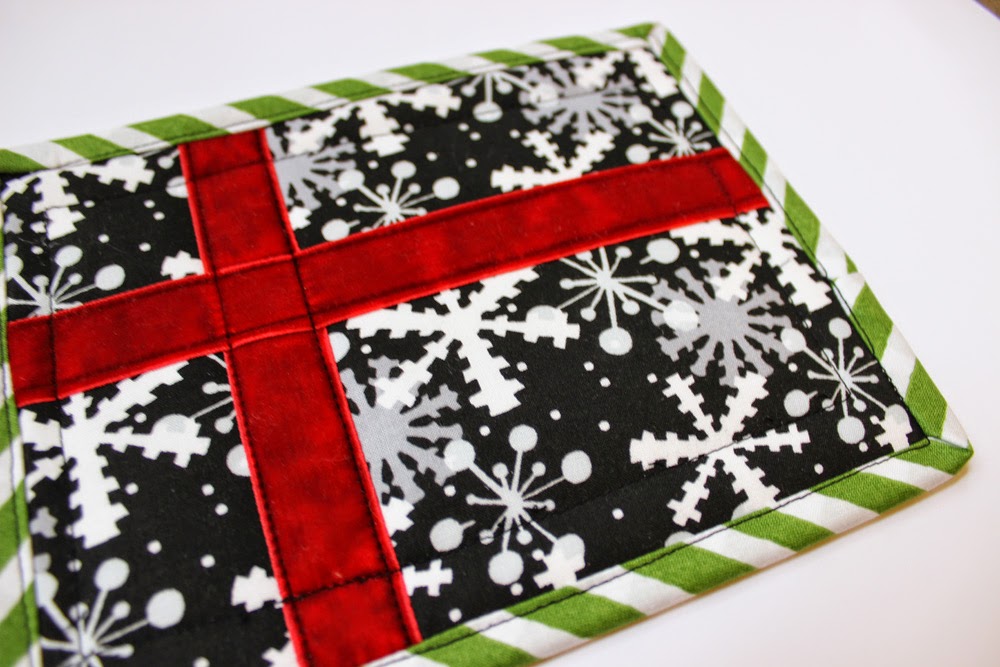
I chose to make mine as a package with a bit of a modern look. You could always sew on appliqués, more trims, etc. The secret to not delaying your postcard is keeping it flat. That way it can make it through the post offices machines easily. Keeping the postcard around an 1/8" thick is best. If you got over 4" x 6" then it will be considered oversized and you'll need to add extra postage.
Here are the basics to making a fabric postcard.
Supplies:
Front and back fabric
Binding Fabric
Heavyweight Fusible Interfacing
Ribbon
Thick paper
Instructions:
1. First decide on what size you want to make your postcard. I chose to cut mine 6" x 8". Cut the front, back, and interfacing this size.
2. Iron the interfacing to the backside of the backing fabric and set aside.

3. Sew trims, appliques or whatever you would like on the front of the fabric.
4. Place the from and back side of the fabric together so the right sides are both facing outward. Sew a 2.5" binding around the outer edge of the postcard. Fold over the binding and press in place. Instead of hand sticthing the binding on, I used my machine.
Note: If you wanted to be quicker, leave off the binding and just stitch around the outside, leaving the raw edge showing.
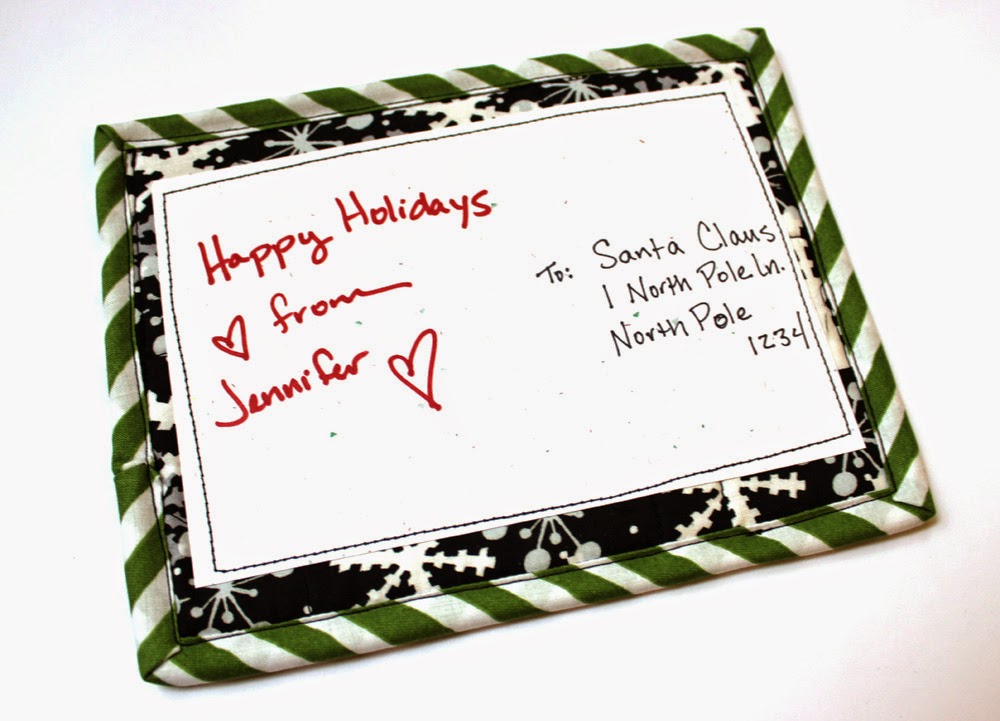
5. Now cut a piece of paper to fit inside the binding of your postcard. Write your message and the address on the paper. You could always write directly on the fabric, but I thought it would be easier to read on paper so that's why I went this way. Topstitch the paper onto the backside of the postcard.
You're ready for a stamp!
Enjoy!

Visit my Website, Etsy Shop, Blog, Facebook